


The Journey Portable Gas Fire Pit
$1,400.00
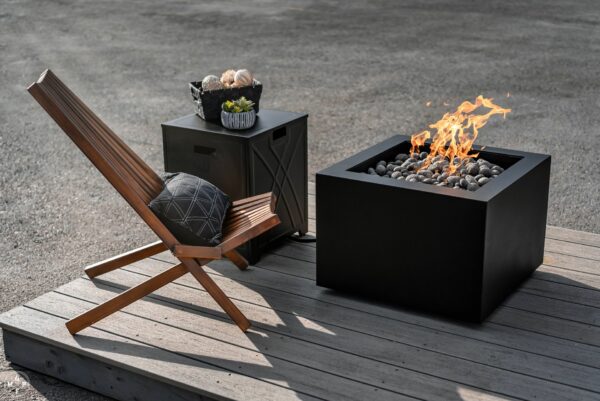
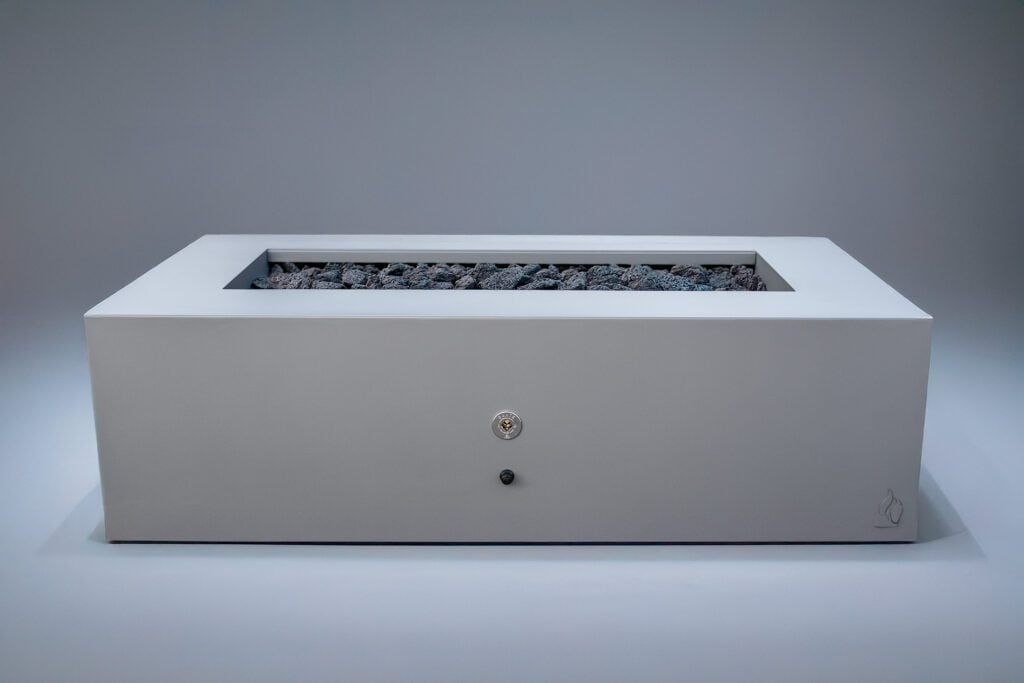
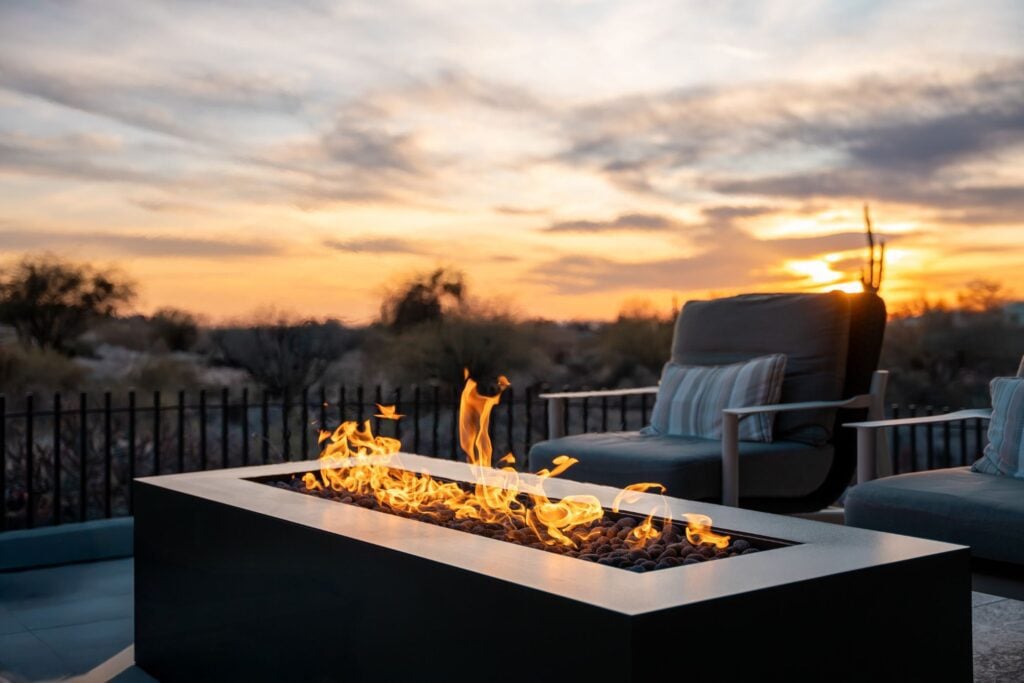
The Journey is fire, distilled. A compact, portable propane fire pit built to go wherever the moment takes you — backyard to campsite to tailgate. No permanent install. No gas line. Just a clean, powerful flame in a rugged aluminum form that fits in the back of a truck. Built with the same Montana craftsmanship as the rest of the Venture Series. Portable doesn’t have to mean disposable.
Features:
- Durable 1/8″ powder coated aluminum construction
- 60,00 BTU Universal Crossfire Burner
- Choose Affirm at checkout
- Select monthly payments that fit your timeline
- No hidden fees
- Built to support premium, made-to-order products

>> Est Ship Date 08/23/2026
The Venture Series: An Architectural Fire System
Forge the enduring heart of your outdoor living space with the Venture Series Architectural Fire Systems. Born from the rugged elegance of the Rockies and forged here in Missoula, Montana, the Venture Series is more than a fire pit—it is a foundational element designed to anchor your landscape and serve as the central hub for a lifetime of gatherings.
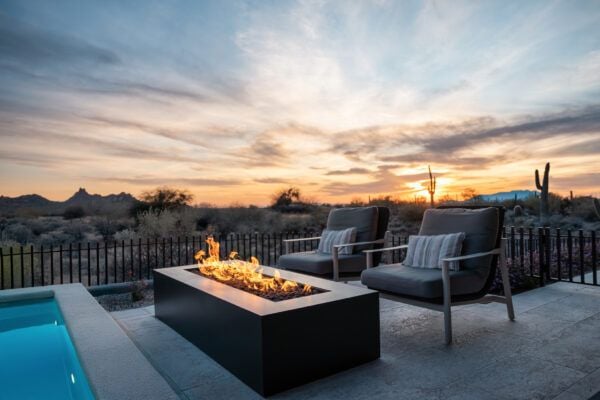
Where other fire pits are an accessory, the Venture Series is an architectural statement. We designed this system for those who are building a legacy—be it through new luxury construction or a complete landscape transformation. Its commanding presence and minimalist design integrate seamlessly into sophisticated hardscapes, patios, and outdoor pavilions, providing a stunning focal point that is both timeless and contemporary.
The Venture Series products become part of your home’s story, enhancing its value and your enjoyment of it through every season. Imagine crisp autumn evenings spent with family, the warmth of the fire cutting through the cool air, or summer nights with friends gathered around its mesmerizing flames. The Venture Series is engineered to make those moments unforgettable.
Designed for Visionaries:
The Venture Series is the definitive choice for projects that demand uncompromising quality and seamless integration:
- New Construction: Specify the Venture Series in your architectural plans to create a cohesive and powerful outdoor design from the ground up.
- Comprehensive Landscape Remodels: Make the Venture the stunning centerpiece of your new backyard oasis, designing your seating areas, walkways, and plantings around its gravitational pull.
- Enhancing Outdoor Living: Elevate your existing property by adding a high-end fire feature that transforms a simple patio into a four-season outdoor space.
Key Features & Benefits:
- A Captivating Focal Point: With a large selection of size options, the Venture Series commands attention and invites connection, creating a natural social hub.
- Uncompromising Montana-Built Durability: Fabricated from heavy-gauge American metal, each Venture system is built to endure decades of harsh weather, from scorching sun to heavy snow. This is an investment designed to last a lifetime.
- Versatile Fuel Options: Engineered for professional installation, the Venture Series is available in natural gas or propane burner systems for ultimate convenience and control.
- A Legacy of Craftsmanship: Every weld and cut is a testament to our commitment to quality. Proudly made in Montana, the Venture Series embodies a tradition of rugged, functional artistry.
- Four-Season Enjoyment: Designed as a permanent fixture, the Venture extends the use of your outdoor space, providing warmth and ambiance that beckons you outside year-round.
Additional Information
| Maximum Heat Output | 60K BTUs |
|---|---|
| Optimal Fuel Pressure | Natural Gas 7" wc, Propane 11" wc |
| Fuel | Propane |
| Propane Tank Compatibility | 20lb or Larger |
| Burner Material | Brass |
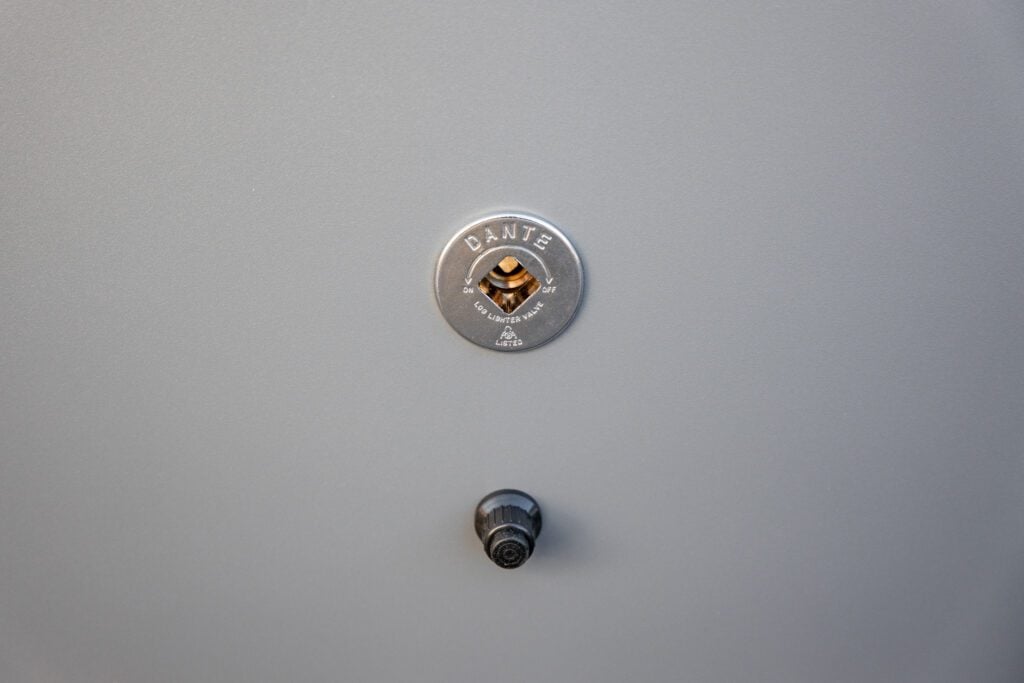
| Ignition | Match Lit |
| Manufactured In | Montana USA |
| Use | Outdoor |
| Overall Height | 12" |
| Length | 16" |
| Width | 12" |
| Shipping Weight | 25lbs |
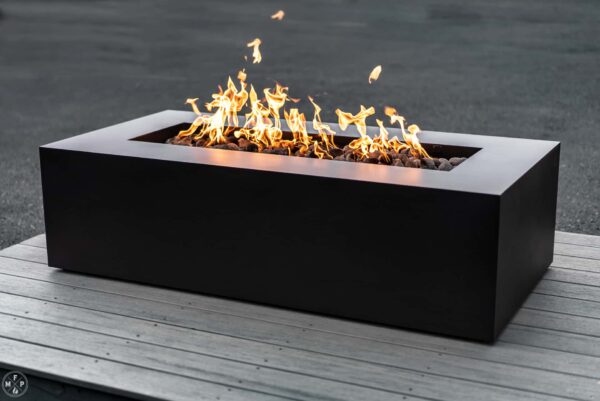
| Shape | Rectangular |
| Shell Material | 1/8" Powder Coated Aluminum |
The Burner Matters
- Lifetime Warranty
- Twice the Flame
- All Brass Construction (no corrosion)
- Engineered “jets” create efficient and beautiful flames
Will it Keep Me Warm?
- This burner produces incredible heat
- For OPTIMAL warmth, you need to retain that heat
- Here’s How
ICC Design Certified Crossfire™ Brass Burner is a state of the art outdoor flame system. It was established with a specific air to gas mixture ratio which produces twice the flame with the same volume of fuel. Or, the same amount of flame using half the amount of gas. This innovative technology has allowed our product to outperform all other outdoor fire pits on the market.
Warming Trends™ patented technology is unique only to our Crossfire™ Brass Burner System, which allows you the benefit of gas savings and a higher quality experience. No need to use the old fashion fire rings anymore.
Heat Output
Somedays you just need that ambient glow that fire creates, and some days you need some serious heat output. The Venture Series offers the most heat/BTUs available in any fire feature. You’ll find plenty of imitators, but nothing compares to the Crossfire by Warming Trends. When you go with Venture, you can rest assured that you have the best. This is a lifetime investment; make sure it won’t disappoint.
Item Details
Additional Information
| Maximum Heat Output | 60K BTUs |
|---|---|
| Optimal Fuel Pressure | Natural Gas 7" wc, Propane 11" wc |
| Fuel | Propane |
| Propane Tank Compatibility | 20lb or Larger |
| Burner Material | Brass |
| Ignition | Match Lit |
| Manufactured In | Montana USA |
| Use | Outdoor |
| Overall Height | 12" |
| Length | 16" |
| Width | 12" |
| Shipping Weight | 25lbs |
| Shape | Rectangular |
| Shell Material | 1/8" Powder Coated Aluminum |
Care
- If using electronic ignition, keep covered in wet weather in order to avoid water build-up in the ignition system
- Keep debris out of the jets – WATCH VIDEO
- For more burner care, CLICK HERE
- Cleaning Instructions
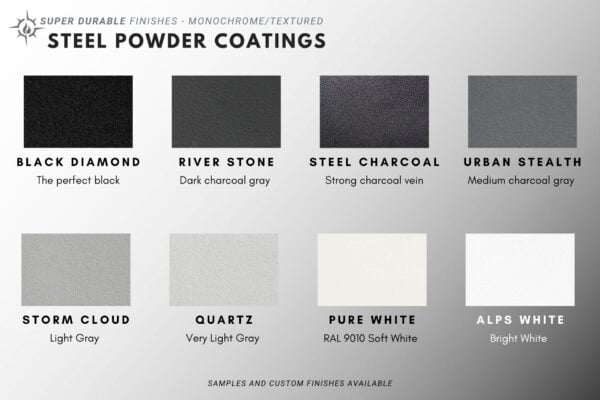
- Montana Fire Pits cannot control how the steel weathers during use. MFP does not warrant the natural process of steel aging. We recommend periodically applying the Ceramic Powder Coat Protectant or use a low-gloss car wax for exterior use 2-3 times per year to protect your powder coating surface.
Shipping
Free shipping within the continental U.S.
Shipping Details:
- Your fire features comes fully crated
- Tools will be necessary to remove it from the crate
- The freight company will contact you to schedule a delivery time that works well for you (this is curbside delivery)
- Moving the fire table to its final location is your responsibility
- Freight fees are included in the price
- These are boutique fire features of the highest quality. They are not mass-produced, and the nature of the process will ensure you are happy with the product. Because of this, there is a wide variation in production time. In some cases, an additional 1-3 weeks is needed to complete and ship the vessel. Your patience in this process is greatly appreciated!
Guides & Installation
The table does not require assembly. However, the burner and fuel components DO require assembly, and must be performed by a local gas professional, such as a plumber or HVAC specialist.
- For the best flames, make sure you have adequate fuel line size and gas pressure. Learn How
Click HERE for additional installation instructions.
Warranty & Returns
Warranty
- Burner – Lifetime Warranty
- Craftmanship (welds, structure) – 10 Year Warranty
- Powder Coating* & Materials – 3 Year Warranty. Exclusions: normal wear and tear, extreme weather exposure, and lack of care and maintenance.
*The powder coating finish warranty does not cover blemishes or rust caused by external forces at your location or by any user. Please treat the surface with the utmost care and promptly seal chips or scratches. It is up to the end-user to ensure proper care is taken during installation and use of the fire table. Warranty also does not apply to damage caused by: overheating, improper installation or misuse, unauthorized modifications or repairs, incorrect storage, exposure to extreme conditions, consequential or indirect damages, normal wear and tear, finish changes due to weathering or exposure.
- RUST: We guarantee your fire table will arrive rust-free and protected by the most durable powder coating possible. However, we cannot warrant against rust because of the vast diversity of climates and environments. The nature of steel is to rust. Montana Fire Pits works hard to fight against the elements to prevent rust as long as possible, but ultimately it is unavoidable. The most common place for light rust to form is on the inside corners and seams of the inside of the table as powder coating scientifically (Faraday effect) has a difficult time reaching tight corners. Do not worry as this will not affect the fire table long term. If you see rust forming in corners, it will not compromise the structural integrity of the table. If there are scratches and chips that occur, do your best to remove the rust and seal the scratch or chip.
- What does the warranty cover? The warranty covers the fire table and all components provided by Montana Fire Pits. It DOES NOT cover contractor fees, equipment rentals, or labor of any kind.
- REPLACEMENT: On the rare occasion that we have determined you need a replacement product, Montana Fire Pits will remake it and ship it out to you. The original product will be scheduled to ship back to us in the crate in which your new product arrives. Please do not destroy the crate in the process of this exchange. Montana Fire Pits is not responsible for installation expenses. If you wish to keep the original fire table, our customer service department would be happy to discuss this option with you.
Damage in Shipping
- Carefully inspect your crate for damage. Take photos of any suspected damage.
- Should damage occur during shipping, call us at 833-228-5244 ext 01
Returns
- We warrant our products, when purchased new, to be free from defects in materials and workmanship.
- If you are not fully satisfied with your fire table, you can return it within 14 days of the delivery date for any reason.
- Buyer is responsible for return shipping costs.
- Returns are subject to a restocking fee of up to 15%.