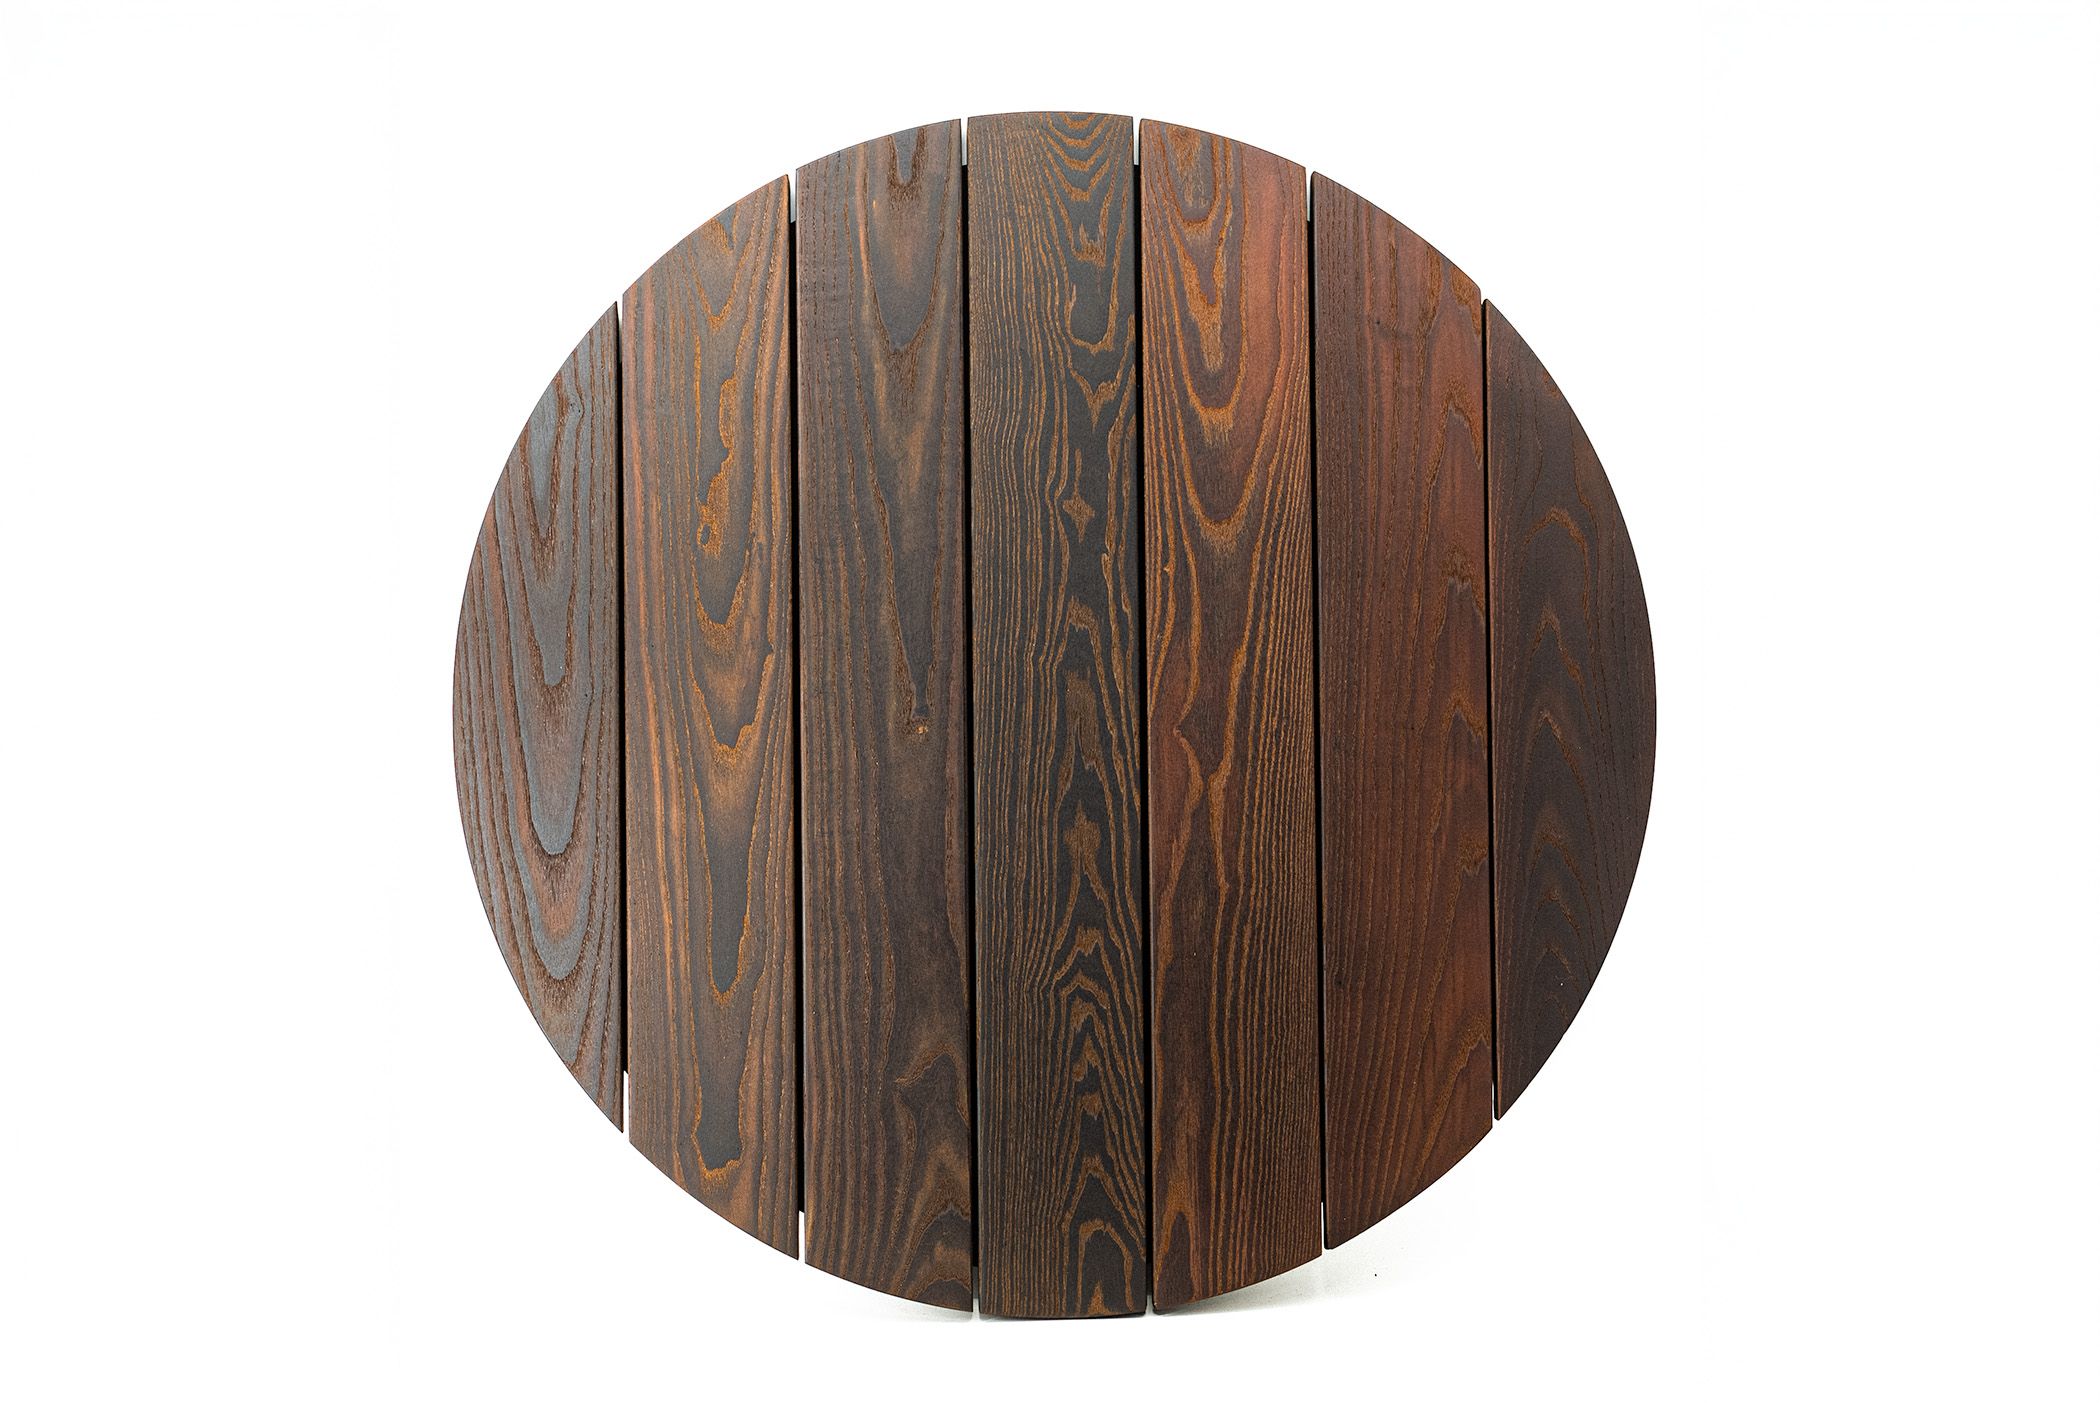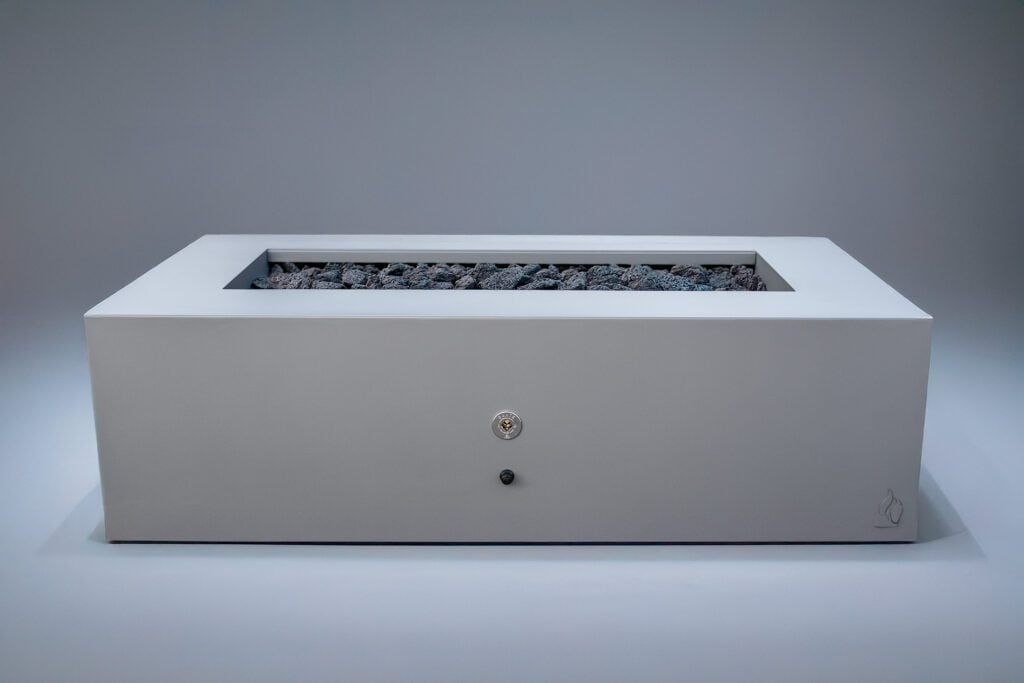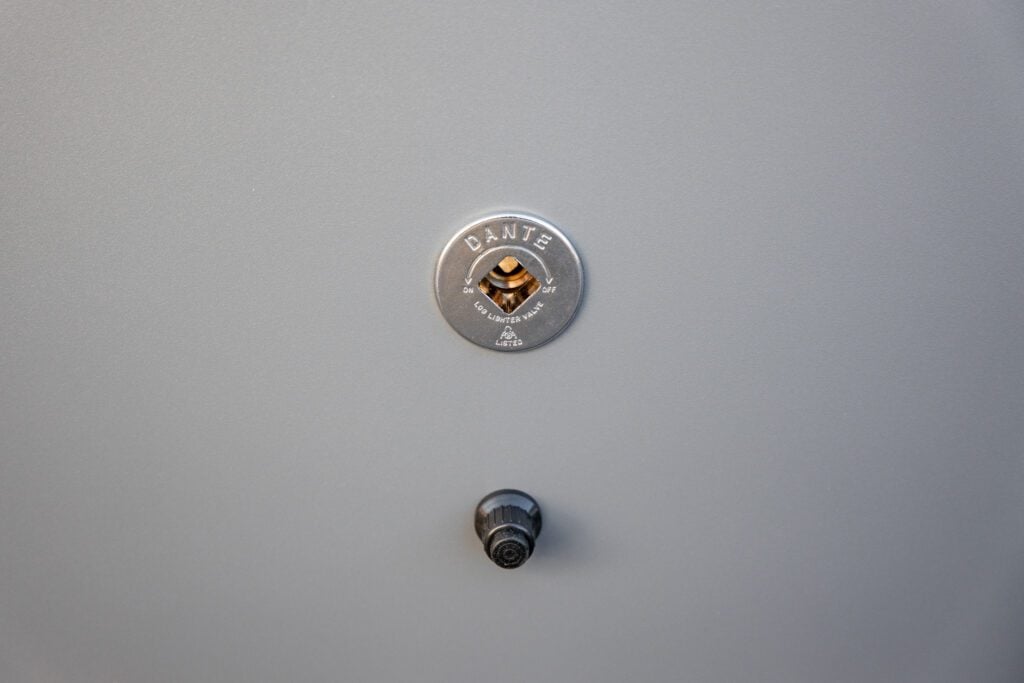


The main purpose of the plate or pan is to hold in the media (lava rock, glass, etc). It also acts like the hood of a car, in that it can be lifted up and out in order to access the gas line or key valve underneath.
What’s it made of?
- Aluminum
Is it ALWAYS necessary?
- No, in some cases a plate is not necessary
- You may decide to fill up the space with some gravel or lava rock. This will make installation and maintenance a bit more complicated.
Does it attach to the burner?
- In most cases, yes
- When you order a package from us, it will come with a threaded piece welded on to the plate/pan
- The burner screws onto it
- It’s very simple to remove or attach the burner (righty-tighty, lefty-loosy… make sure to re-apply pipe dope/tape!)
- It’s not required that the burner attaches to the plate/pan. You can set the burner directly on it. This will reduce the height of the burner by 3/4″. This might be beneficial if you want to cover your fire feature with a flat cover
Plates (No Sidewalls)
- Appropriate for most builds
- Sidewalls are not necessary when the burner is in the common position- recessed 4-5″ below the finished top
- Place stacked cinder blocks, bricks, or pavers under the plate. This makes for a simple and sturdy plate mount
Pans (2″ or 3″ Sidewalls)
- If your top cap encroaches into your opening, you may want a pan instead of a plate (since the pan has to be smaller than the smallest part of the inside diameter)
- These just work better on some builds. We take it case by case
Drop-In Pans (2″ or 3″ Sidewalls + 1″ Lip)
- If you want metal showing above the opening, that sort of ‘ties it all together’, you may want a drop in pan
- Sometimes necessary if you plan on building a portable fire feature and aren’t able to stack up blocks under the plate
- Drop-in pans are available as a custom order – CLICK HERE
There are many methods to mount a plate/pan inside your fire feature. We’re just going to tell you our favorite way to do things because… well, it has worked well so far! With that being said, these methods may not work in all situations, so put your problem-solving hat on and get creative.
*Complete & RTF Systems: you won’t need to worry about plate/pan mounting; they’re designed for simplicity
Mounting the Plate/Pan
- Consider stacking up cinder blocks, bricks, or pavers inside the fire feature cavity
- Place the plate/pan directly on the blocks
- Adjust the block height by either adding some fill, or by digging underneath
- Most commonly, plates/pans are mounted 3-5″ below the finished top of the fire feature
Plate/Pan Depth
- 4-5″ below the finished top is recommended
- Recessing it deeper may make the fire seem smaller, and you won’t see the media as well
- Recessing it to be more shallow can give it a “proud” look; where all the parts stick up high and make a statement. Though you may have to ‘mound’ the fire media up higher in order to cover the jets. It’s not a bad look, but you won’t be able to use a flat metal cover if that’s a goal.
- The depth at which the plate sits is really up to you. Keep in mind, the burner sits 3″ high from plate to the tip of the jet
If your fire feature is already built and you can’t use a standard sized plate, you have a few options:
Cut your plate to size on-site
- Use a jig-saw with metal blade, or a grinder wheel with cutoff
- It’s 3/16″ aluminum and your cut doesn’t need to look pretty
Make your plate bigger
- Use concrete board to extend the size of the plate
- Watch THIS VIDEO to get an idea
Order a Custom Size
- Round & Square Custom Plates/Pans – CLICK HERE
- Rectangular Custom Plates/Pans – CLICK HERE
- Drop-in Pans – CLICK HERE
*TIP: Give yourself about 1/2″ of space around the plate so that it’s easy to insert into the fire feature opening