
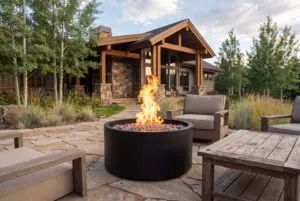
Fire ignites something deep in our souls that is ancient and powerful. There’s something undeniably magical about sitting around a fire pit, telling stories and roasting marshmallows. And while traditional wood-burning fire pits can be a great addition to any outdoor space, they do require a bit of work to maintain and can produce a lot of smoke. That’s where a gas fire pit comes in – it’s easy to use, requires little maintenance, and there is no smoke blowing in your face. You may or may not need a permit to install a gas fire pit in your area. Make sure to check local code requirements before you get started. If you’re thinking about adding a gas fire pit to your outdoor space, here are the top 5 factors to consider.
Whether you are starting from scratch on an entire back yard project or just looking to add some ambiance and a community gathering space to your yard, this guide will set you on the right path to achieving your fire pit dreams.
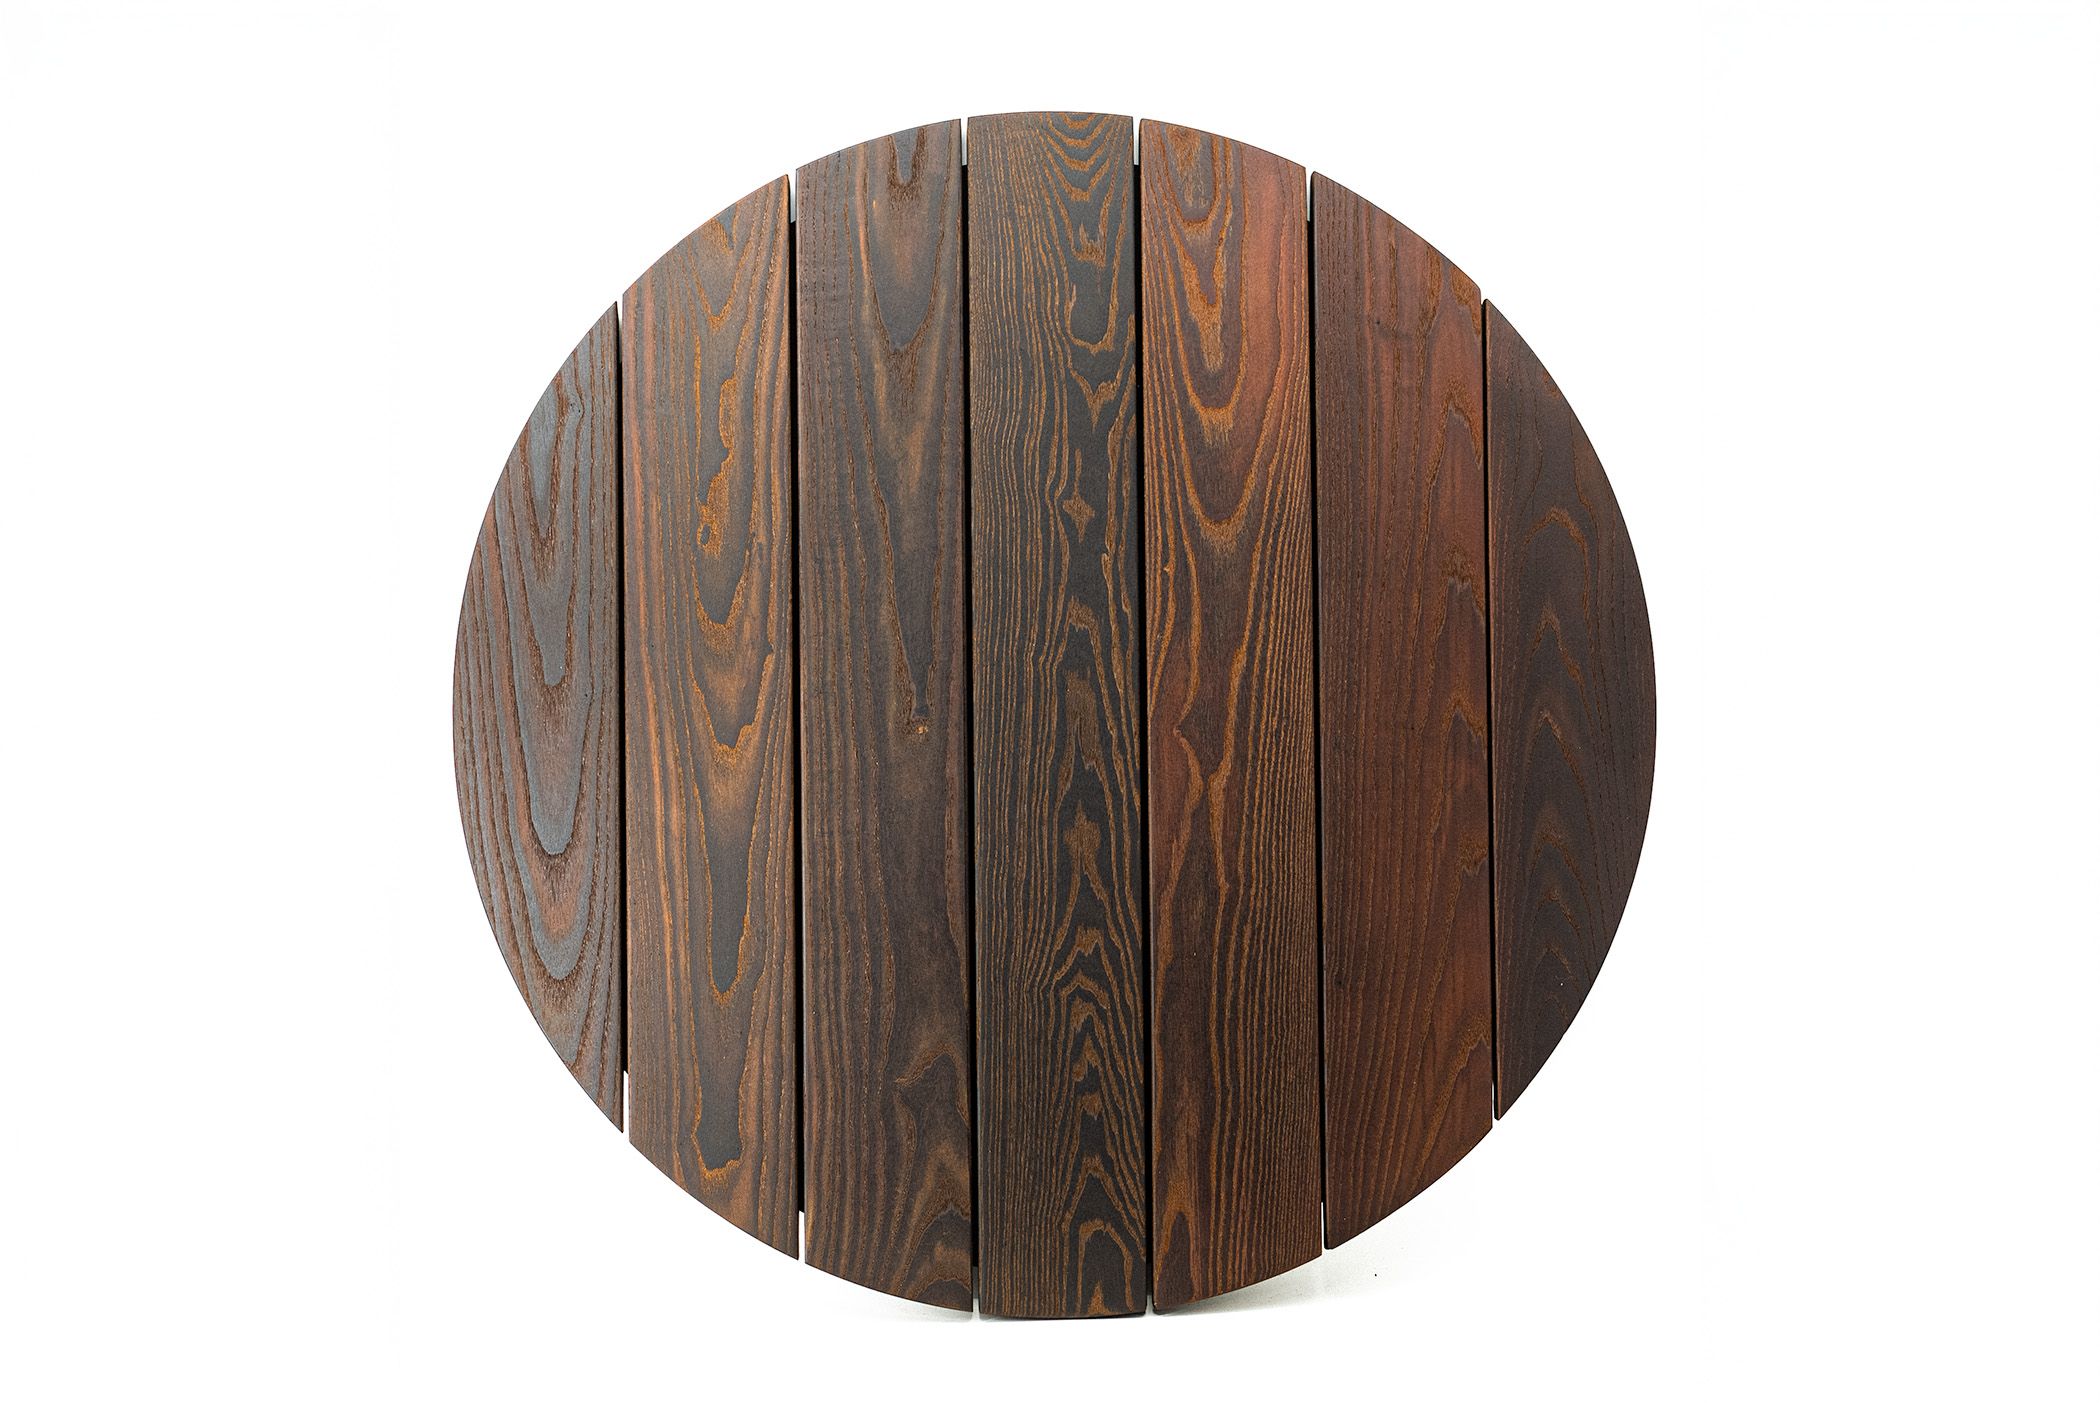
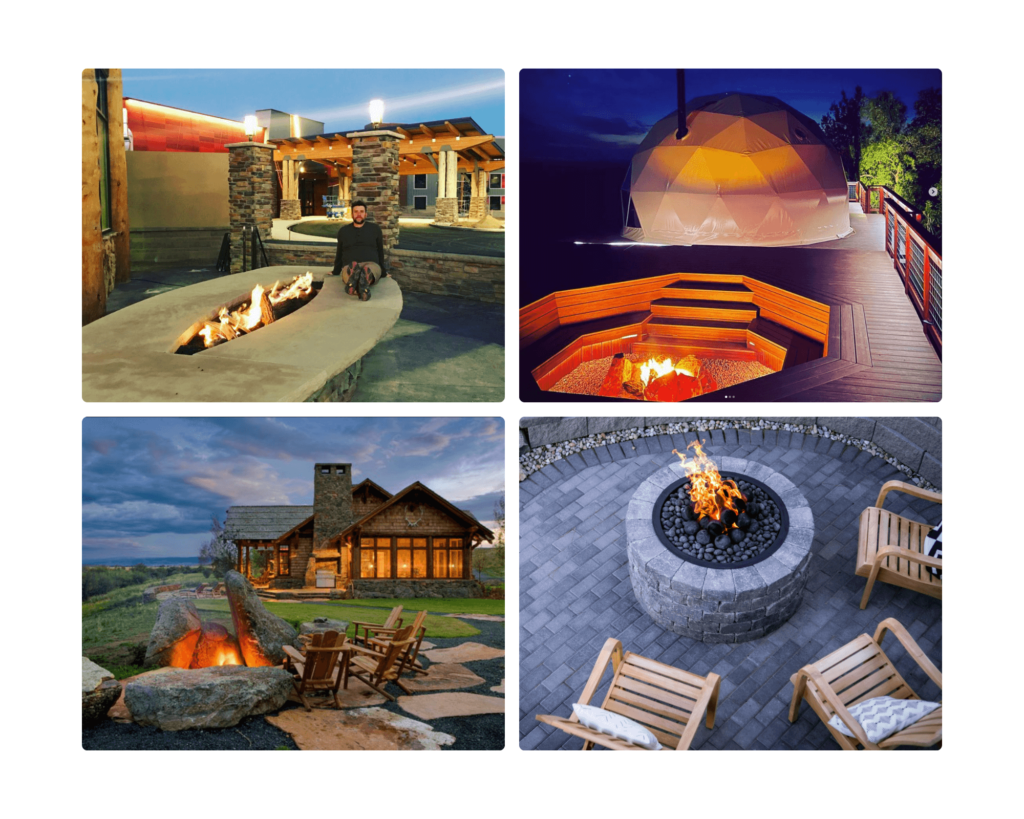
Location
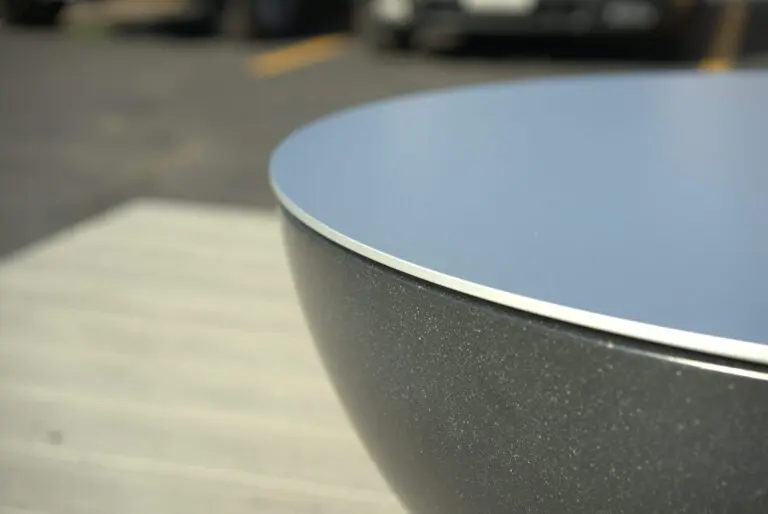
![]()
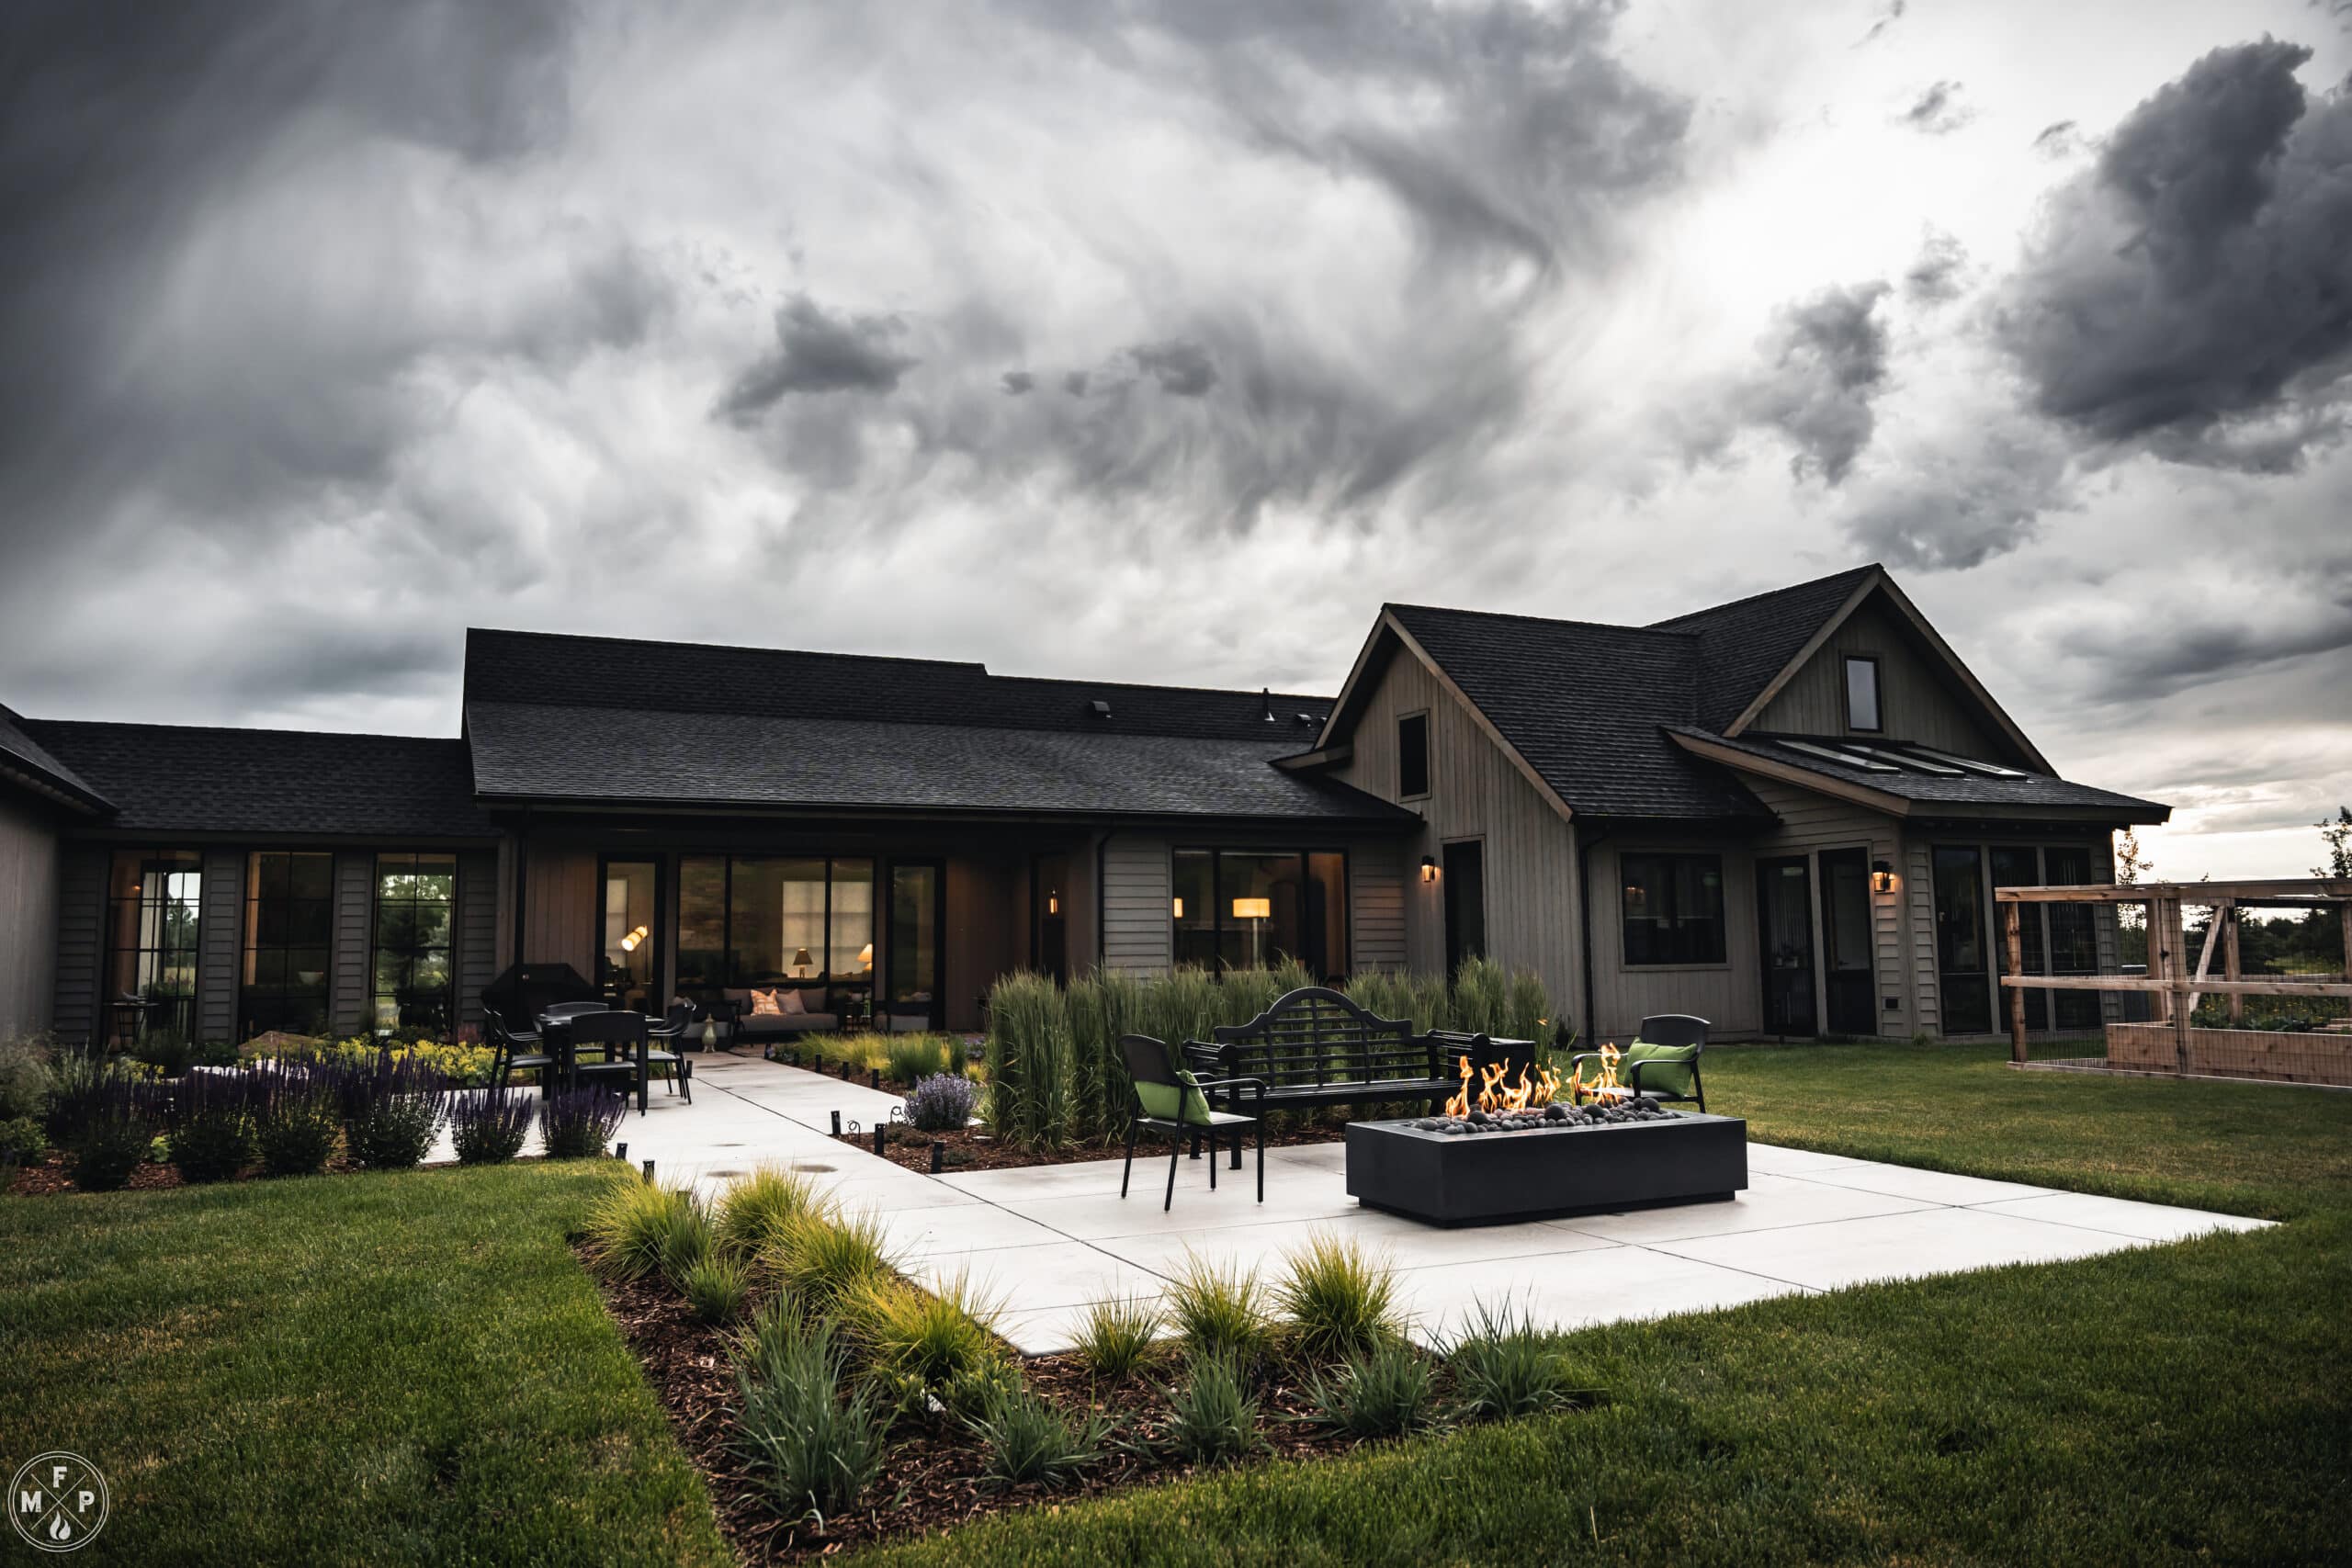
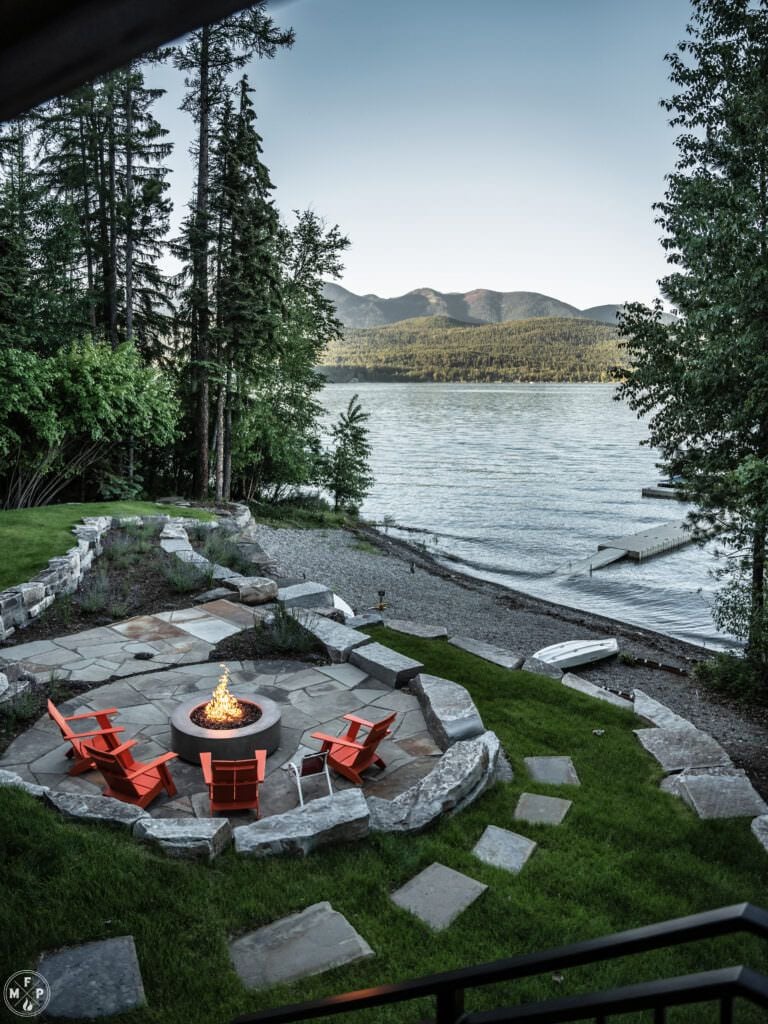
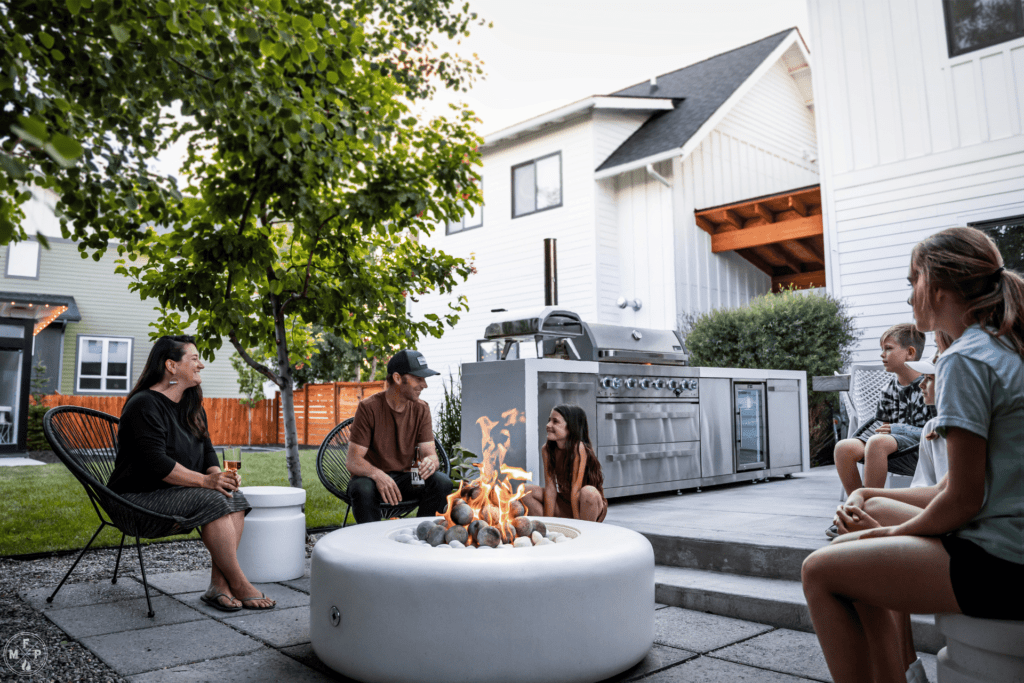
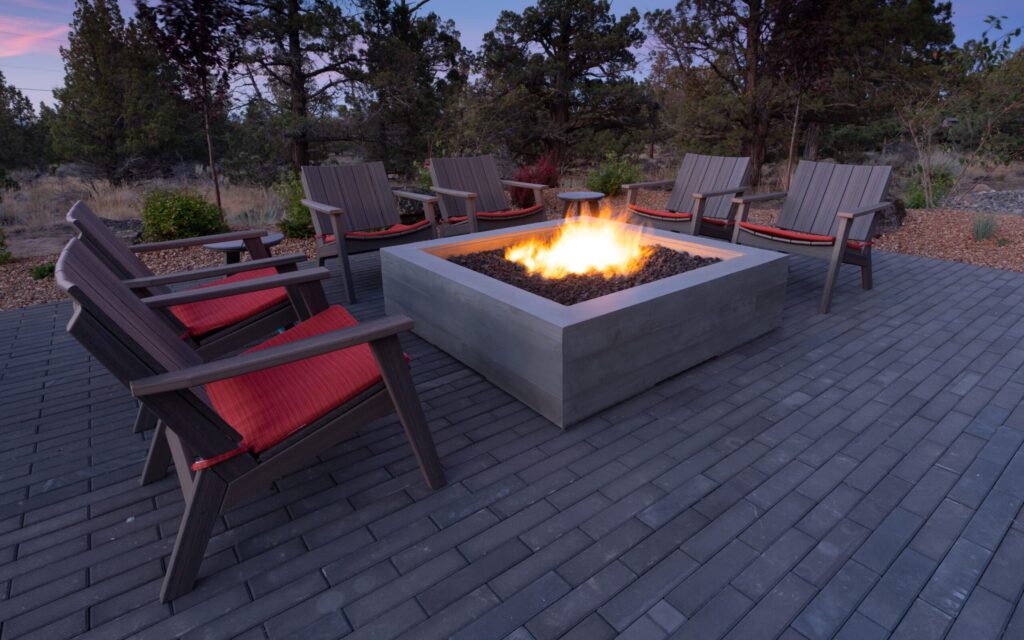
The first step in planning your gas fire pit is to choose the location. You’ll want to find a spot that’s flat and level, and at least 3 feet away from any structure or combustible material. You’ll also want to make sure the location is convenient for seating and entertaining. If you are starting from scratch on an entire backyard project, consider laying out different zones such as dining, lawn activities, outdoor kitchen/grill area and of course, a conversation area based around your gas fire feature. Consider the flow of traffic around your fire pit and throughout your outdoor area and create pathways to connect each space.
Choose a level area in your yard away from low-hanging trees, structures, and potential wind gusts. A fire pit can work in a variety of locations around your property. Place it in your backyard, on a deck, patio, pool area or courtyard. Even a wood or synthetic deck is perfectly safe for a gas fire feature. There’s no need to protect the material the fire feature is setting on; nearly all the heat rises above the burner plate. You can even place it under a pergola as long as you have at least 120” of clearance above the fire pit.
Consider mapping out your entire seating area to see if it meets your needs before committing to anything. Bring a chair or two to sit in and see if you like the views from your planned fire pit location!
Fuel
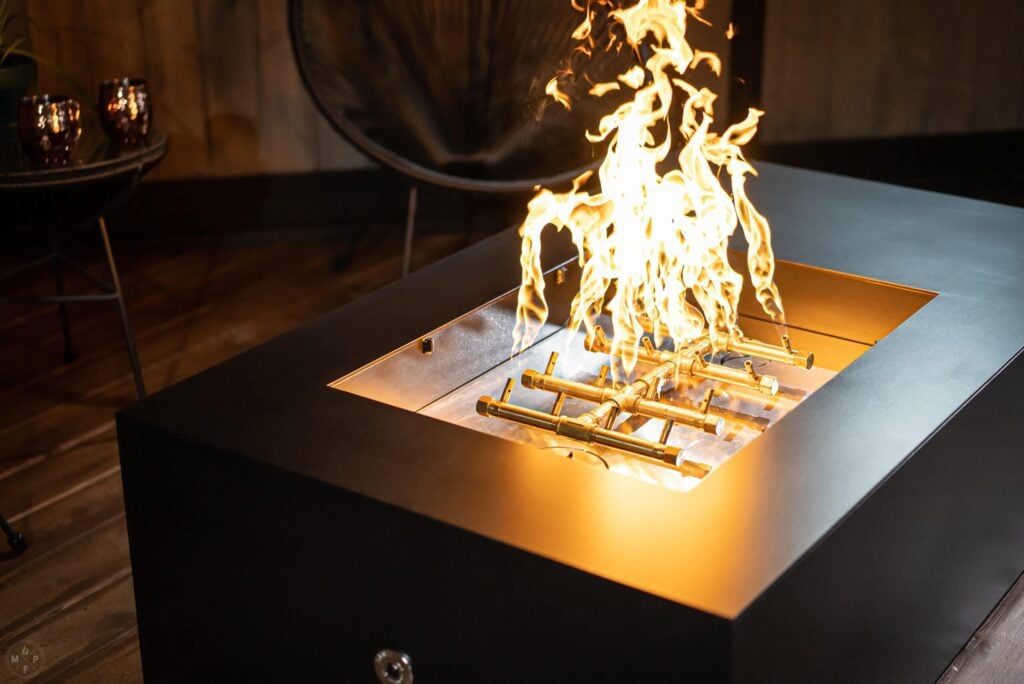
Not all burners are created equal! If you love the mesmerizing, roaring fire and the heat of the Warming Trends CROSSFIRE Burner, make sure that you will have adequate gas supply to achieve this. Most fire pits on the market put out between 10,000 and 60,000 BTUs. Our burners start at 60,000 BTUs and go up to 470,000+ BTUs, with 180,000 being common.
You can buy a high BTU burner, but if you don’t have adequate fuel supply, your fire will be small and sad. A great rule of thumb is: fuel equals flame. That basically means that if your fire is small and weak, it is because your fuel supply is inadequate. Even if your burner’s BTU rating is higher than your line can handle, you should be ok as long as it supplies 70%. In order to know what your capabilities will be, call up your local gas professional and get their advice.
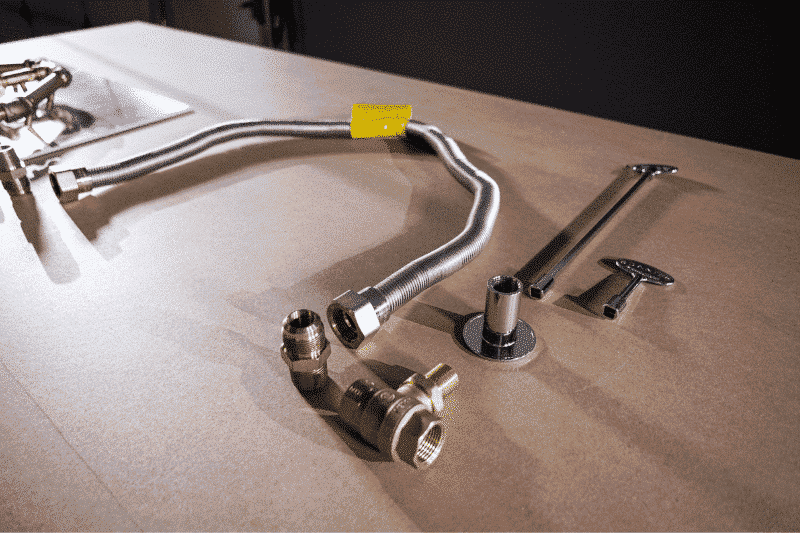
You should also ask yourself what type of fuel is best for you, whether natural gas or propane, and how to incorporate it into your plan. One is not necessarily better than the other. It all comes down to your unique situation. Like we always say, every fire pit is different! If, down the road, you need to convert from LP to NG or vice-versa, you can do so by purchasing replacement jets from us at $25 each. Let’s talk about the pros and cons of both types of fuel available in our gas fire pits.
Natural Gas
If you are planning a natural gas fire pit, you will need to call a local gas professional (plumber or HVAC specialist) to supply fuel to the fire pit area. Is natural gas available in your area? Do you already have a natural gas line running into your house, powering other appliances? If you are able to excavate your yard to run a natural gas line to your fire pit, this might be the best option.
Since your gas will be hard piped in, there will be no gas line or hose to hide. It is generally less expensive and won’t require trips to swap out or fill up propane tanks. It also burns slightly cleaner, so the inevitable soot buildup takes longer to accumulate on your fire media (lava rock, glass, logs, etc). That means less time lugging propane tanks around and cleaning your media, leaving you more time to enjoy your fire pit.
Some cons to choosing natural gas over propane include possible necessary upgrades to your gas meter and larger diameter fuel lines to provide adequate BTUs. You can check the rating of your gas meter by looking on the side. Most are rated at 250,000 BTUs. Our largest burners can get up to 470,000+ BTUs, so just be aware of this if you are planning for a large fire pit.
You will also have to have the line installed by a professional, which means digging up your yard and possibly some added expense. If you are already planning a landscaping or whole yard project, this is probably not an issue. The last downside to natural gas would be that your fire pit would be hard to move to another location down the road if you change your mind. The gas line would need to be moved as well.
Propane

In many places, natural gas simply isn’t available. Since propane comes in tanks, you can transport it to your location easily or have it delivered in large quantities. Propane fire pits are usually a bit more portable, since they run off a tank. This means you can move your fire pit around if you want to change up the view later on. If you want a high BTU fire pit, and are planning to use propane, take into consideration the larger tank size needed.
For burners up to 180,000 BTUs, a standard 20 lb./5 gallon BBQ propane tank may work. A 40 lb./10 gallon tank will work for burners up to 200,000 BTUs. Anything above that will probably require a larger tank.
If you want to hide your tank from view, get creative! There are a ton of great looking covers on the market and tutorials online for DIY solutions.
There are a few drawbacks to propane. It is a bit more expensive than natural gas and the tanks need to be swapped out and refilled. It also tends to build up black soot faster on your fire media (logs, cannonballs, lava rock, etc). Don’t worry too much about this though. It’s easy to clean off. Learn more here. For more information on fuel, check out our Fire Pit Guide.
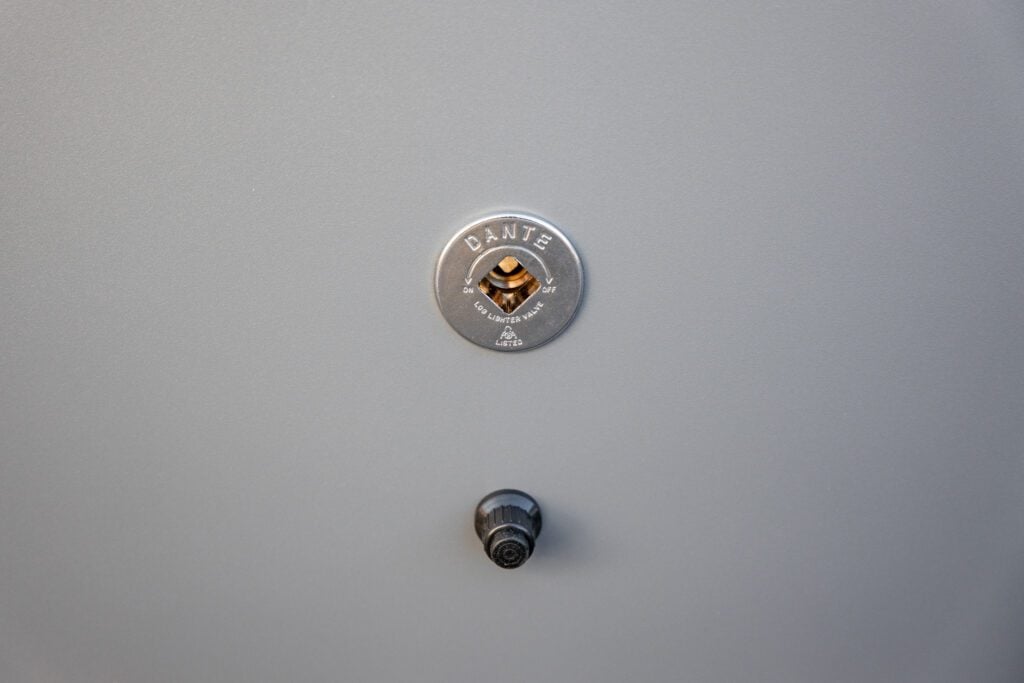
Another important consideration for planning is type of ignition. A match-lit is most common, but if you want to be able to flip a switch or use your phone to light your fire pit, you will need to make sure there is electricity supplied to the fire pit area.
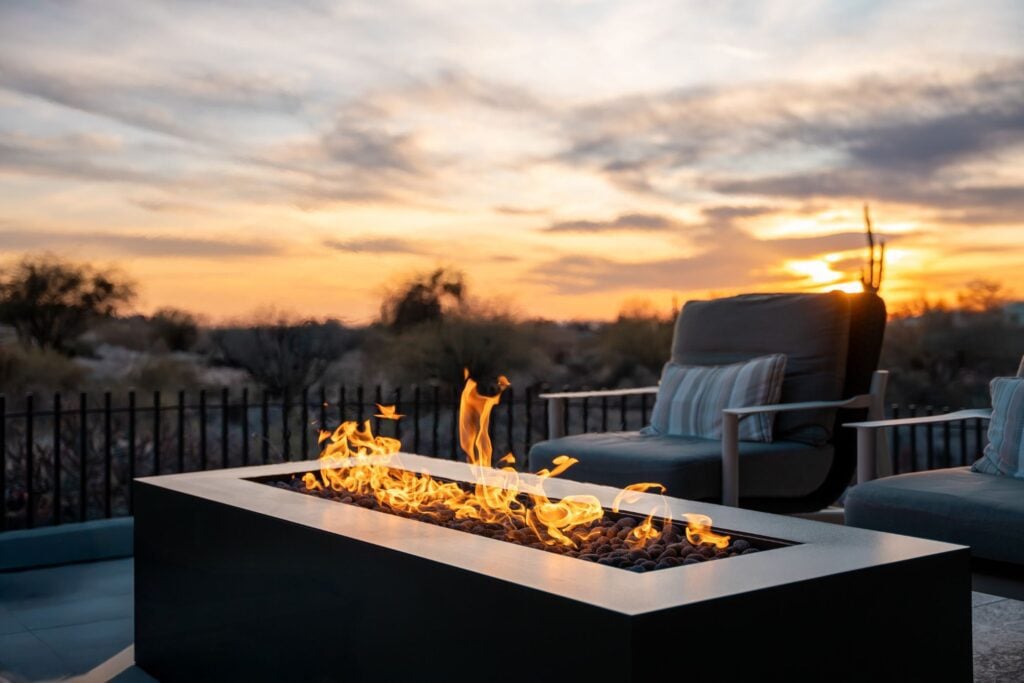
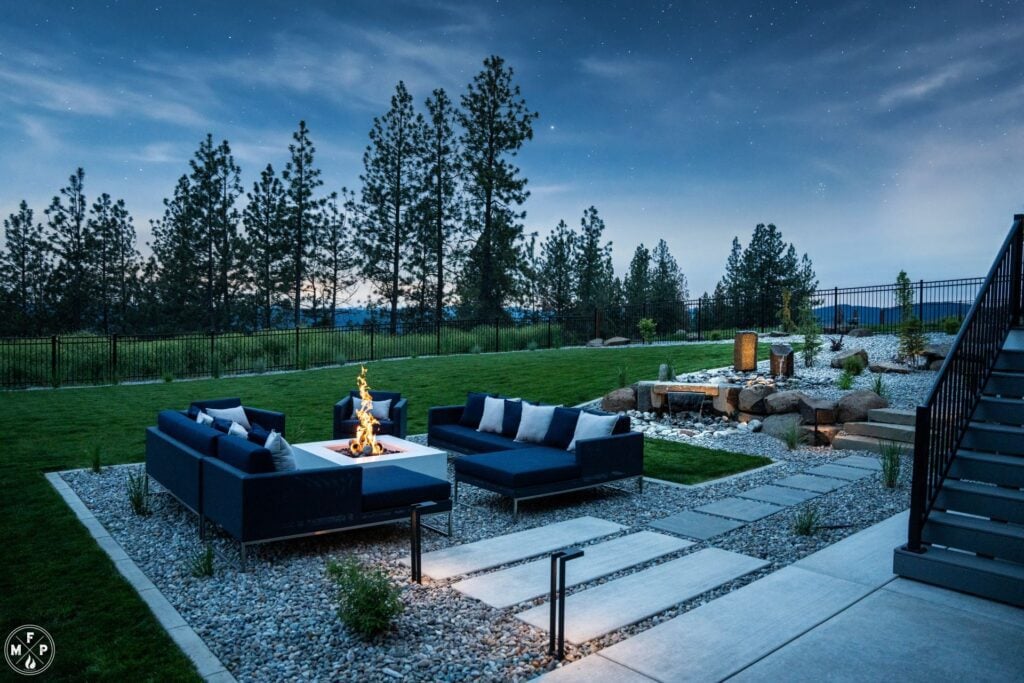
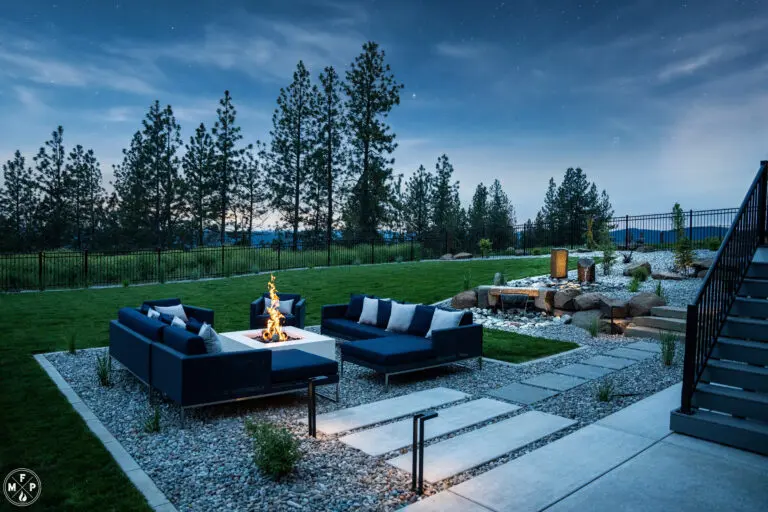
Furniture & Layouts
Once you’ve chosen the location and fuel for your gas fire pit, you’ll want to add seating. This can be anything from chairs and benches to built-in seating or even a sectional. Make sure there’s enough space for people to move around comfortably and that everyone has a clear view of the fire pit. We recommend about 18″ – 24″ between your fire feature and your furniture.
Consider what you will use the fire pit area for most. Do you want space to have a nosh or two around your fire pit? Mostly just deep conversations with your significant other? A circle of friends chatting and playing some tunes? Here are a few seating layouts to consider:
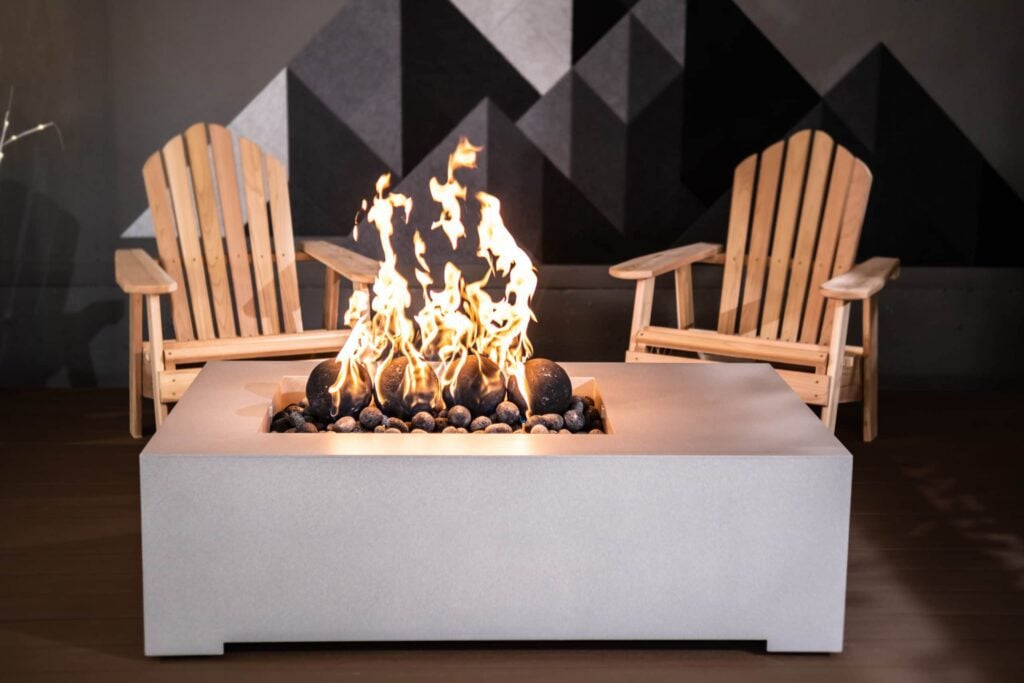
Round Layouts
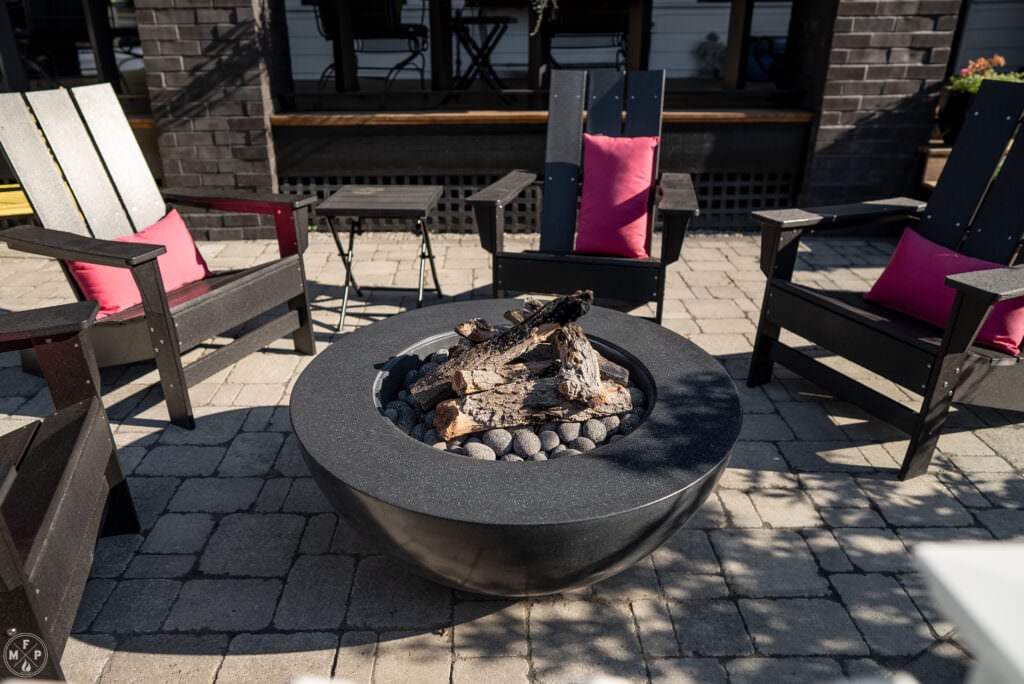
Round fire pits are a great way to get a lot of chairs around your gas fire pit. They are a great option if you are opting for Adirondack chairs!
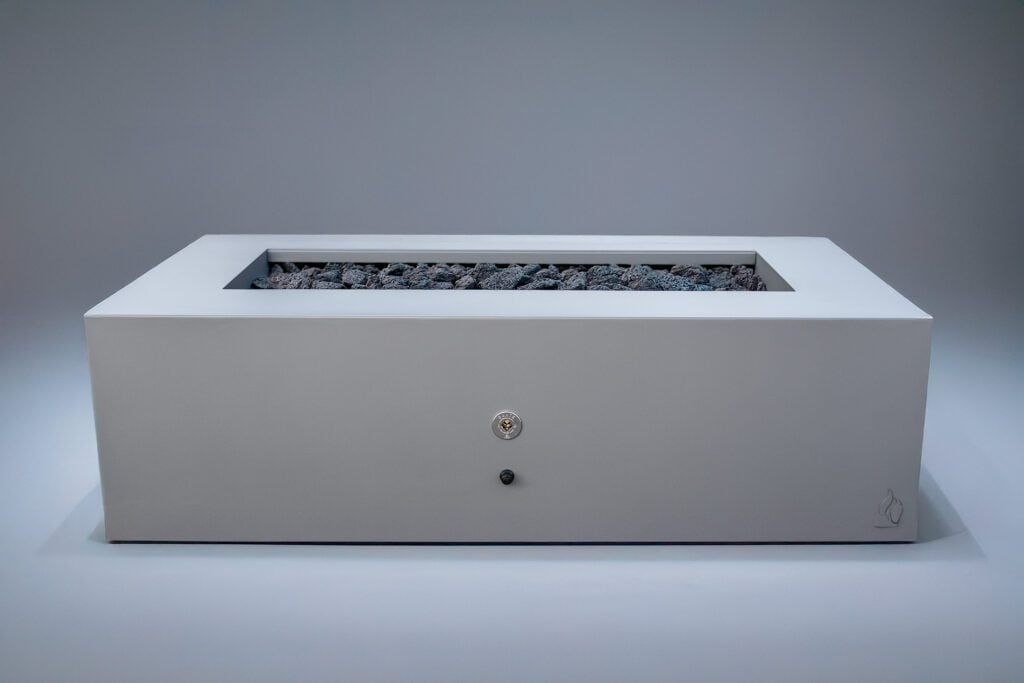
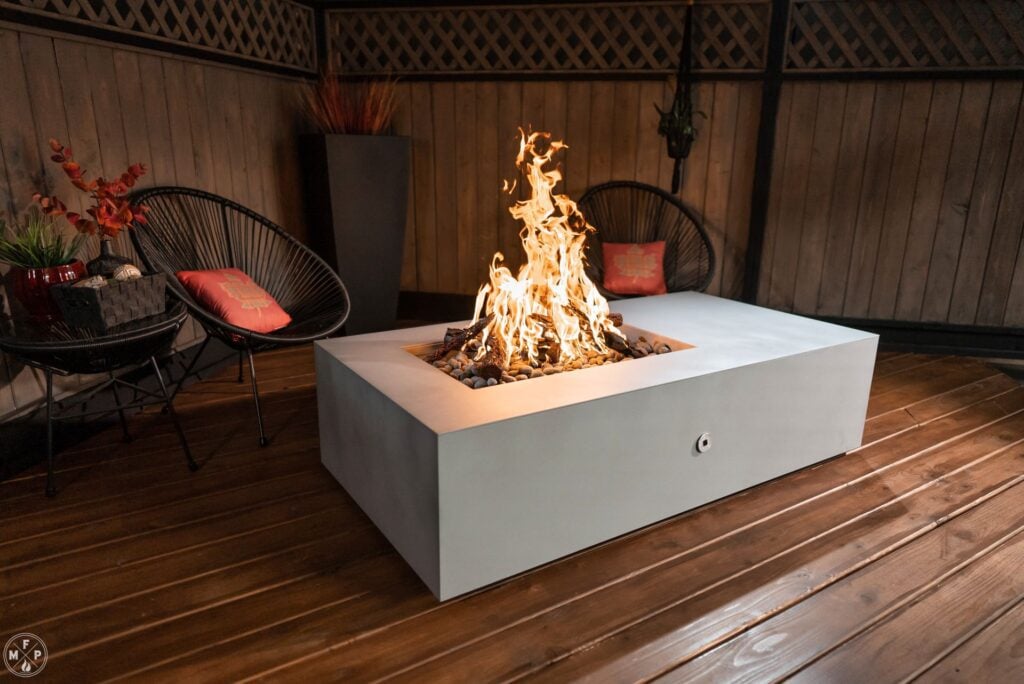
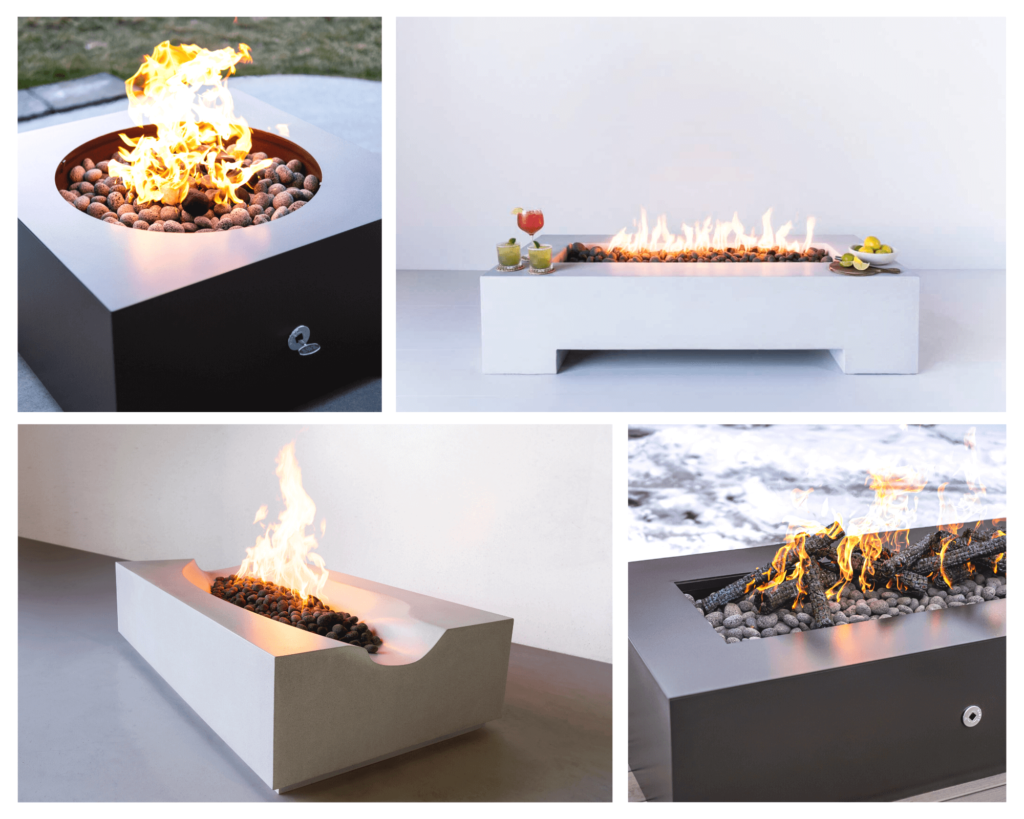
Square Layouts
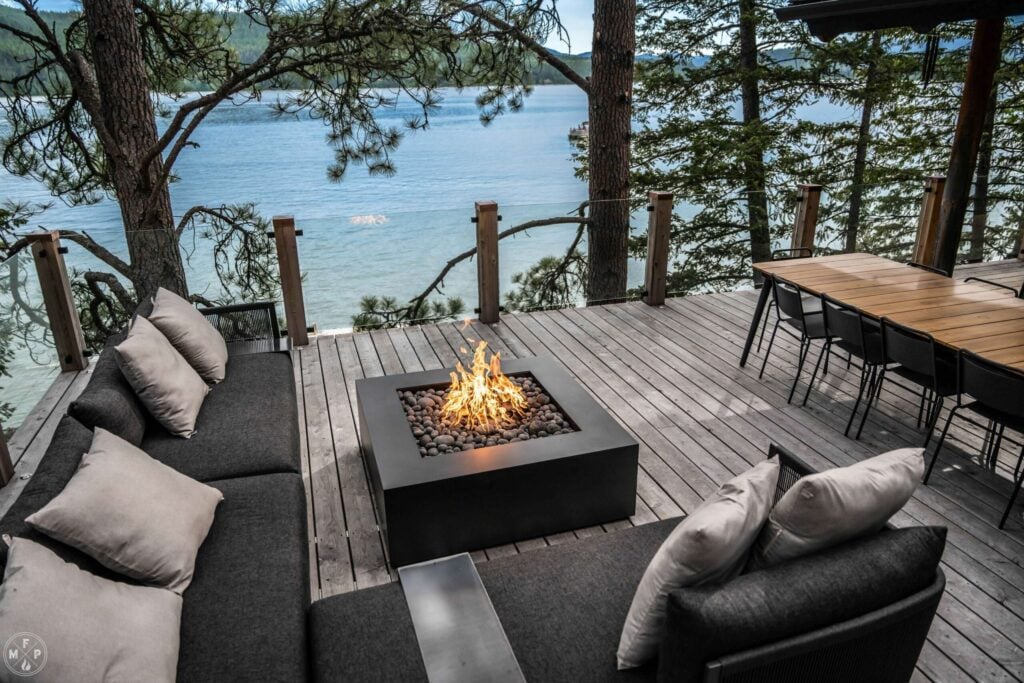
Square fire pits are super versatile when it comes to furniture layouts. They work great with sectionals, as well as other setups.
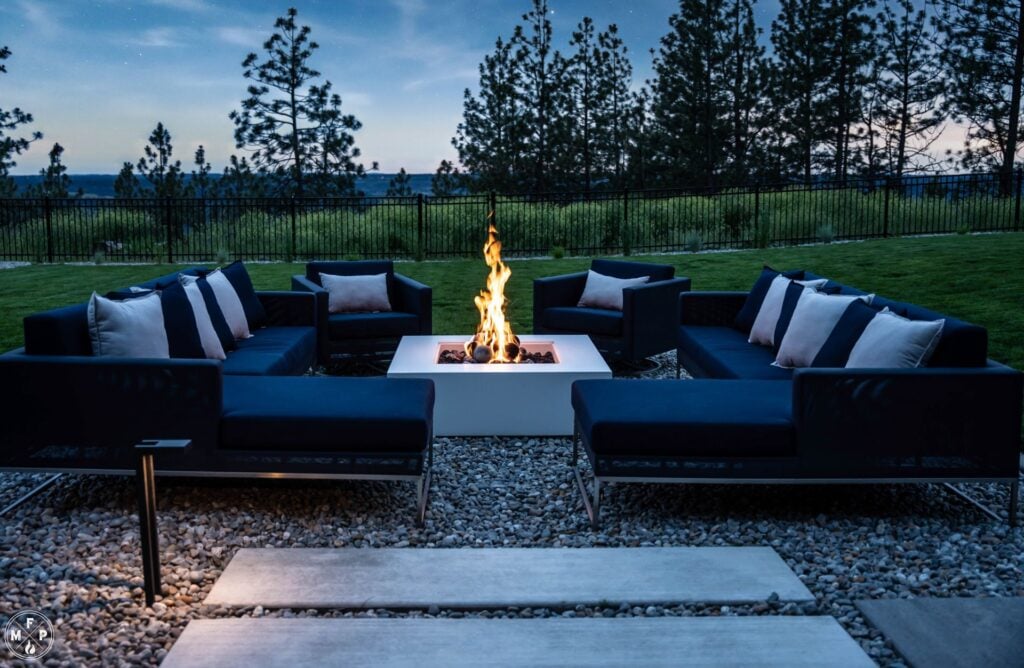
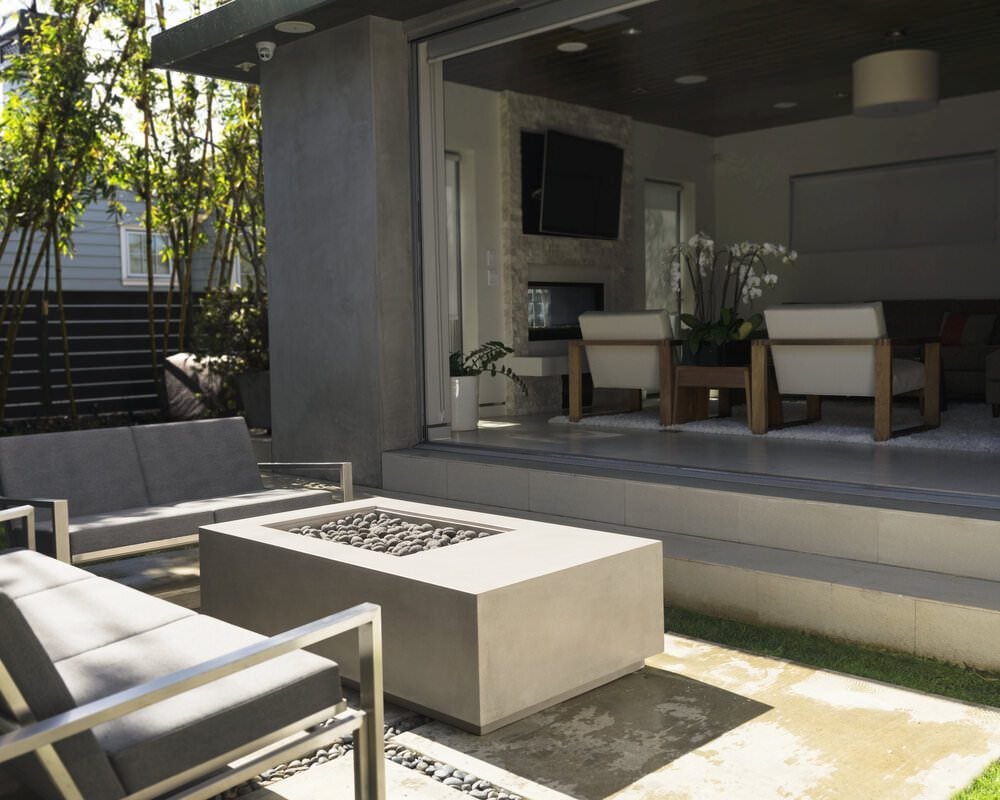
Rectangular Layouts

Rectangular fire pits look great in a wide variety of furniture layouts.

Space for food and drinks
Size
Once you’ve chosen the location, fuel type, and furniture, you’ll need to decide on the size of your gas fire pit. This will depend on how many people you plan to accommodate and the size of your outdoor space. How many people will regularly be enjoying the fire pit? If it’s a smaller number, say two, then you obviously do not need as large of a fire feature to accommodate them. If your yard is the community hub for parties, you will probably want a larger fire pit.
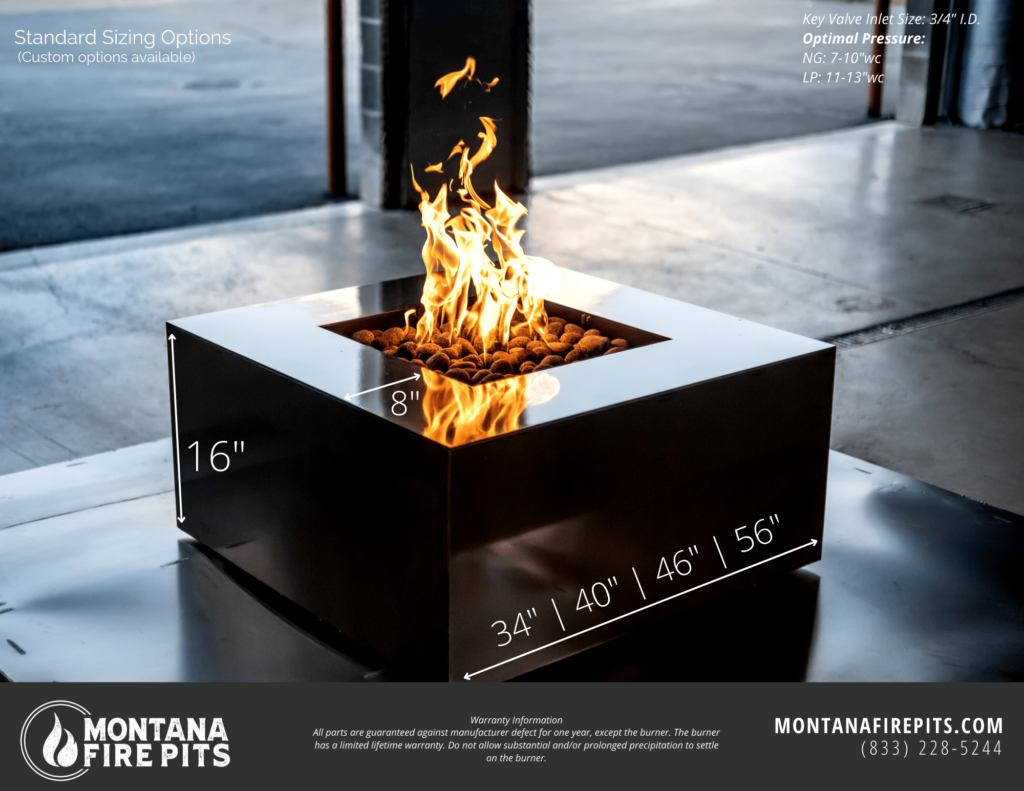
Common round & square standard opening sizes are 18″, 24″, 30″, 36″, 42″, 48″ and 60″. Most of our fire pits are 16” inches tall and feature ledges for feet, drinks, etc. from 7″ to 12″. As a general rule, you need about 18” – 24” of space between the edge of the fire feature itself and your furniture. Most furniture will be about 24” deep. You will probably want to be able to walk behind and around the furniture, so add some space for that as well.
Style
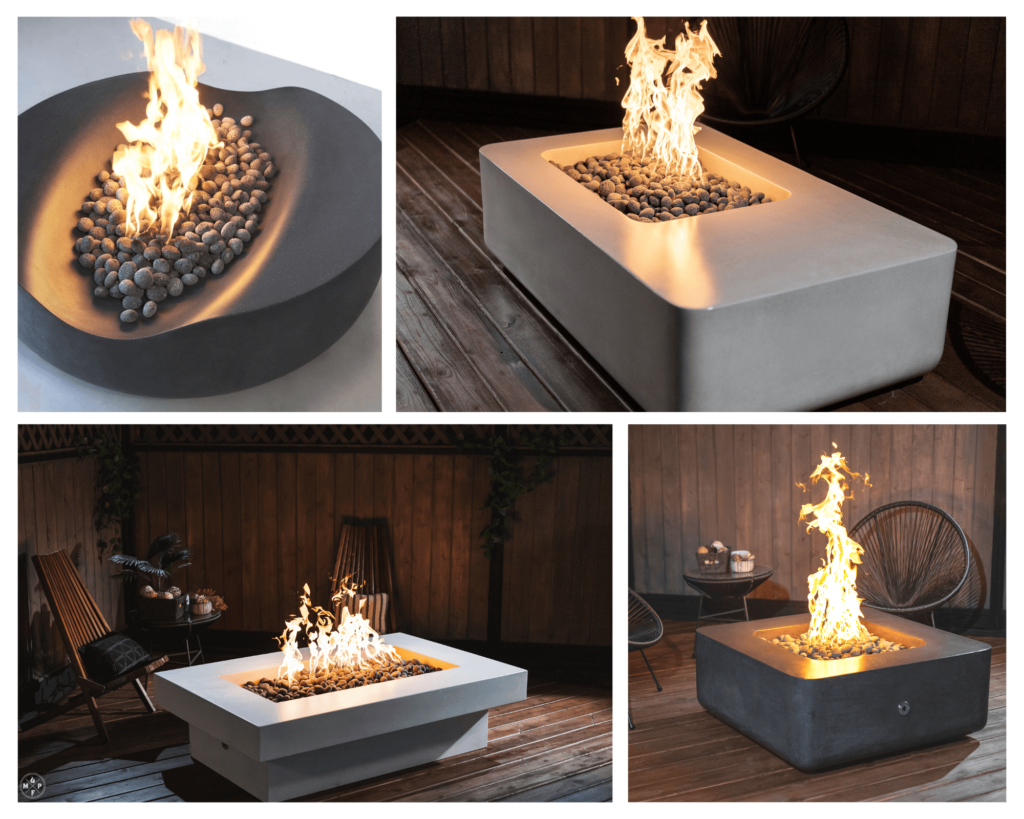
After you know your dimensions and furniture layout, all that’s left to choose is the style! Are you a DIYer looking for a Ready To Finish Kit that you can add your own flair to? Or would a finished complete system be more up your alley? You could even build your own from scratch with one of our Warming Trends CROSSFIRE Burner systems.
Ready To Finish Kits
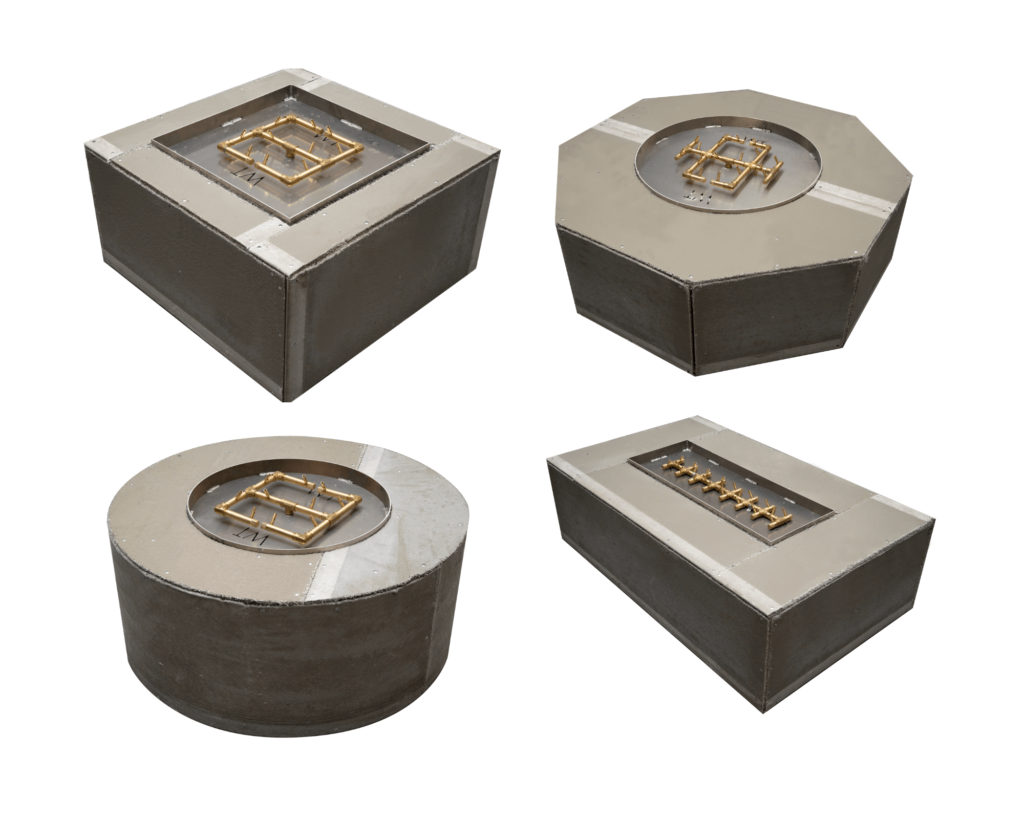
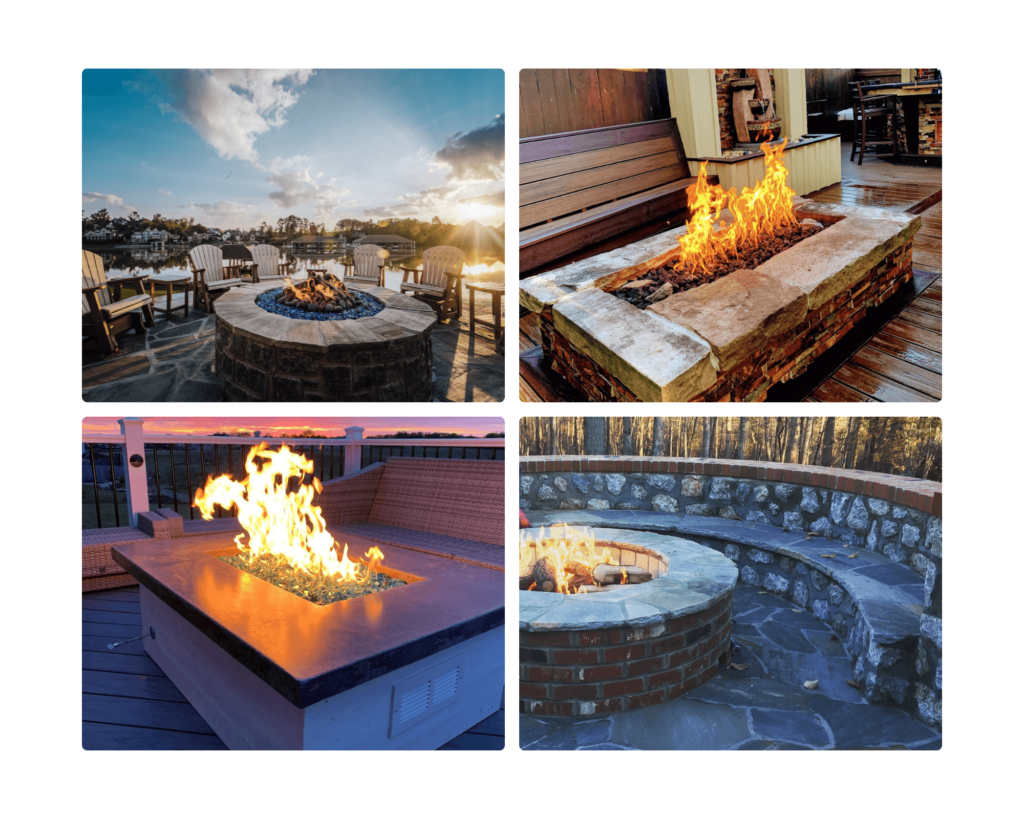
The options for Ready To Finish Kits are only as limited as your imagination! Stone, granite, tile, steel, stucco, wood… get creative! We have 4 standard shapes (round, square, rectangle & octagon), but if you have a custom request in mind, don’t hesitate to reach out. Tell us what size you’re looking for and we will put a quote together. You can even upgrade the burners for more BTUs in some of our RTFs. Check out some photos that we’ve gotten from creative customers!
Build Your Own
If you truly want to build your own one of a kind fire pit, we can help. We’ve helped add dazzling fires to some fabulous spaces. We can even do custom burner sizes, including long “walls of fire”. Just tell us your inside dimensions and how many BTUs you have available. To learn more or to start a quote, click here.
Complete Systems
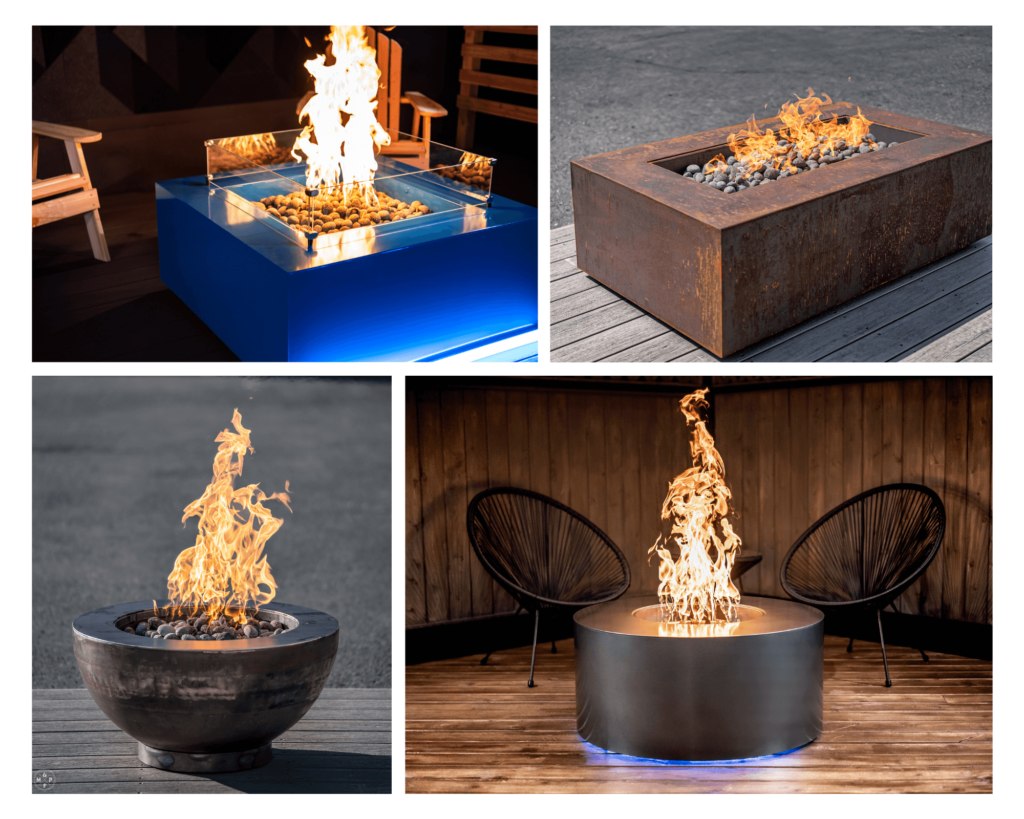
The simplest way to bring fire to your home is a Complete System. We’ve got shapes and colors to match any décor or taste! Our steel Venture Series comes in a wide variety of beautiful powder coated colors that stand the test of time. The Gather Series of GFRC features seven gorgeous colors that are integrated into the concrete itself, not a painted finish. Whatever style you are looking for, we have a fire feature for you!
In conclusion, a gas fire pit can be a magnificent addition to any outdoor space. By planning ahead and following these tips, you can create a cozy and functional outdoor focal point that you and your loved ones will enjoy for years to come. And as always, if you have questions about how to choose the best fire pit for your space, don’t hesitate to reach out!


The Yellowstone Edge Is Here
The Venture Series · 2026 Release The Yellowstone Edge does not ask for attention. This is the newest addition to The Venture

Mild steel, corten, or marine-grade aluminum: choosing the vessel for a fire table built to live outside
Every Montana Fire Pits gas fire table, from the Venture Series to the Studio Series and even the Arbor Collection can be

The RTF Fire Table Kit
Most outdoor fire features fall into one of two categories: a stamped-steel pit out of a catalog, or a fully custom build