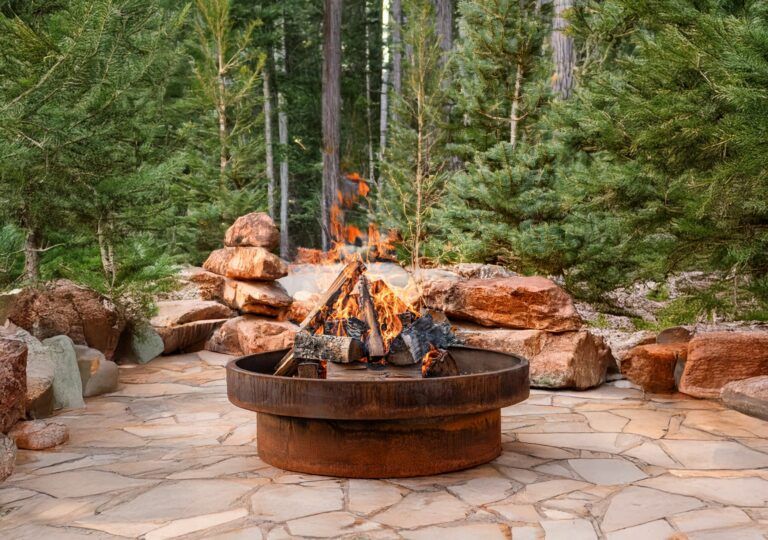
Ah, the gas fire pit. A backyard haven for roasting marshmallows, sharing stories, and basking in the warm glow on chilly evenings. But what happens when the flames flicker and die, or worse, refuse to ignite at all? Keeping your gas fire pit burning brightly involves understanding its quirks and knowing how to address common issues.
Before you resign yourself to a fireless night, take a deep breath and remember this: most gas fire pit problems are easily solvable with a little know-how and some basic troubleshooting. This comprehensive guide addressing nine common problems will empower you to diagnose and fix the issues, ensuring your fire pit remains a reliable source of warmth and ambiance for countless gatherings to come.
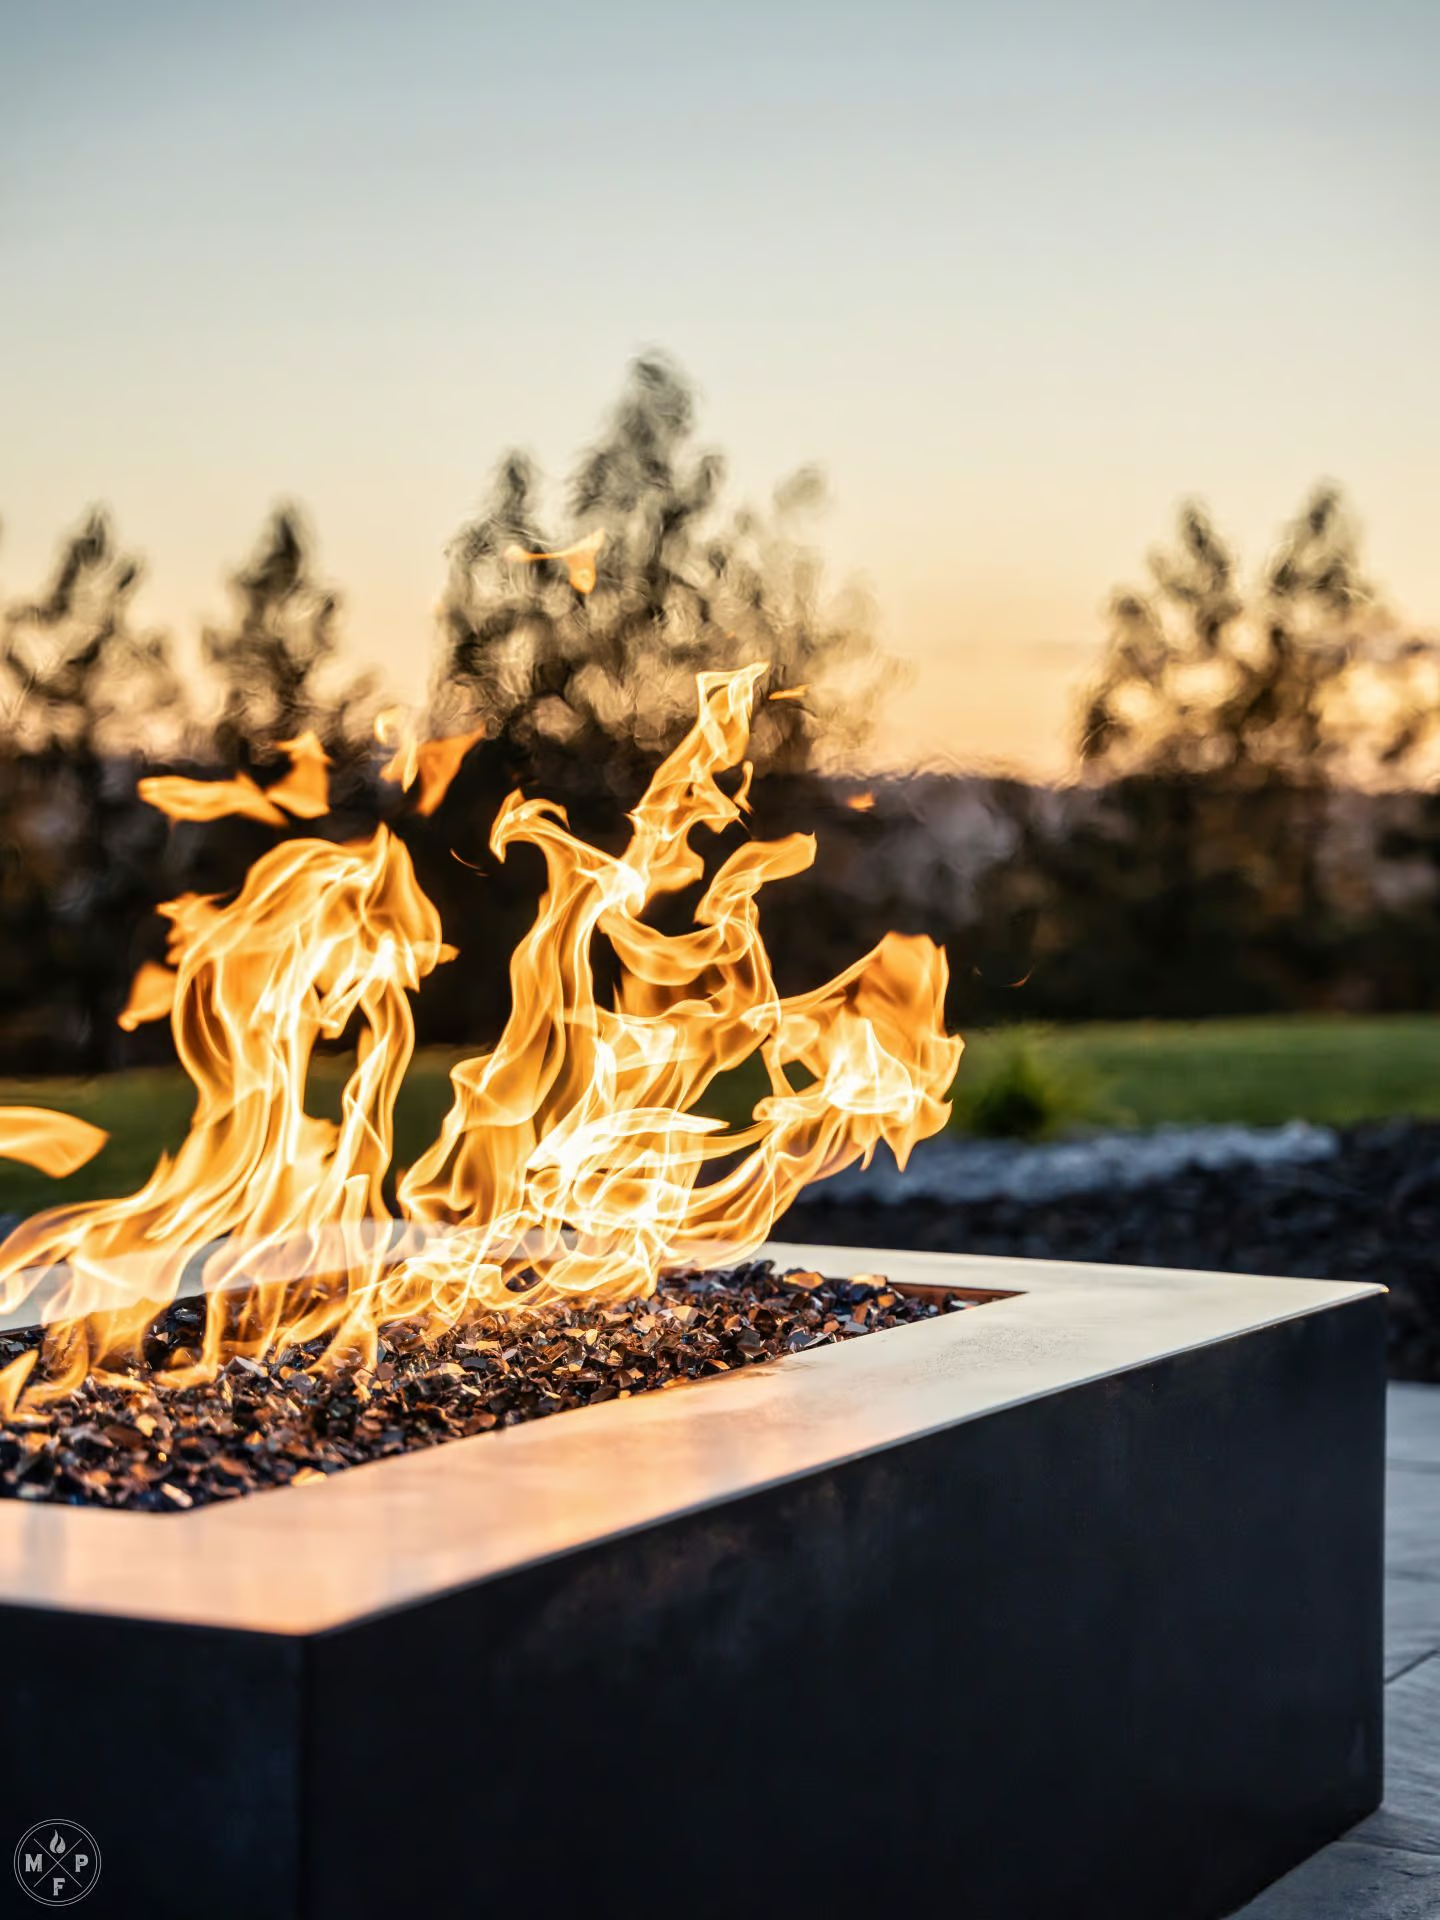
1. The Case of the Disappearing Flames: Uneven or Nonexistent Fire
Imagine this: You eagerly gather around your fire pit, but as you ignite it, you notice something’s amiss. Some jets are producing weak, sputtering flames, while others seem completely lifeless. Before you assume your fire pit is possessed, consider the most likely culprit: clogged jets (aka nozzles, orifices, nipples).
Over time, tiny particles of fire glass, lava rock, or even dust can find their way into the burner jets, obstructing the flow of gas and hindering the flames. Fortunately, this is a simple fix.
Here’s your action plan:
- Grab your tools: You’ll need a 3/8″ wrench or better yet, and impact driver. You’ll also need a small, narrow object like a paperclip or wire.
- Remove the offender: Carefully unscrew the affected jet using the wrench. If the jet is stubborn, use an impact driver.
- Clear the blockage: Gently insert the paperclip into the jet’s opening and dislodge any debris. Also remove debris from the air-intake holes.
- Reassemble and reignite: Screw the jet back in securely (careful not to cross-thread) and test the flame. Test your flame on a still, dark evening so you can better visualize your flame.
With a little patience and a steady hand, you’ll have those flames dancing in unison again in no time.
2. The Mystery of the Weak Flames: When the Fire is Lackluster
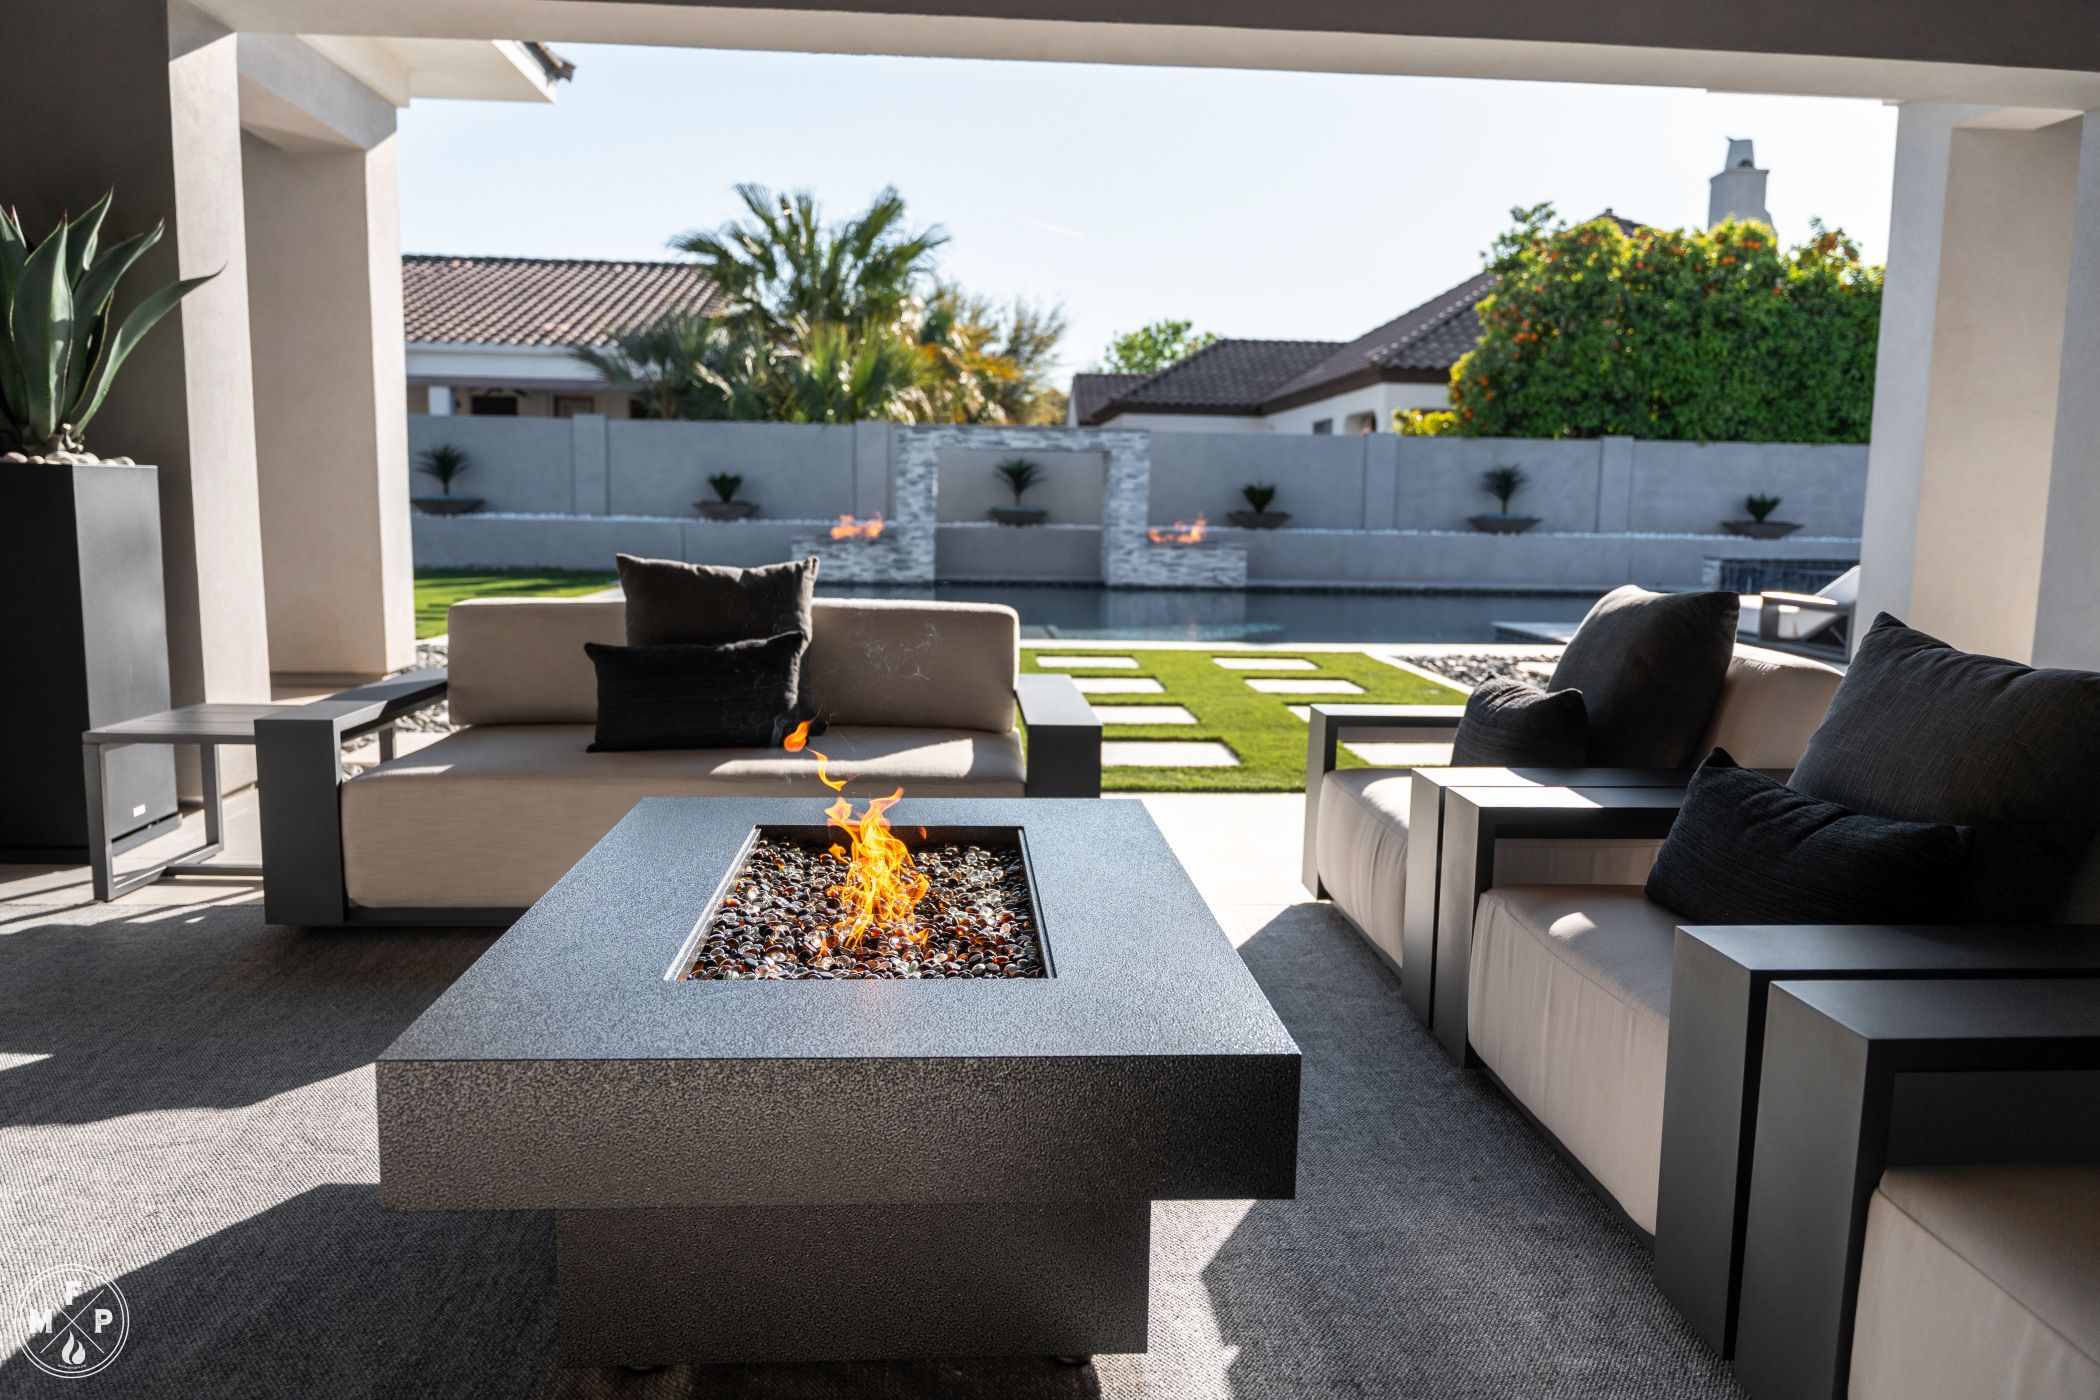
If your gas fire pit ignites but produces weak, lifeless flames, the issue likely lies with the fuel source or gas flow. For propane fire pits, ensure your tank has enough fuel. If you use natural gas, confirm the supply is turned on and flowing correctly. Sometimes, weak flames result from a narrow gas line or a BTU limiter restricting the gas flow. In these cases, it’s best to contact a qualified gas professional.
To troubleshoot on your own, start by checking your propane tank levels or ensuring your natural gas supply is fully open. If using propane, inspect the hose for any kinks or bends that might be restricting flow. If you suspect a more complex issue with the gas line or have questions about your setup, don’t hesitate to consult a qualified technician. If all is set up and installed correctly and you still have a small or weak flame, we recommend upgrading your burner to the industry standard… The Crossfire Brass Burner by Warming Trends.
3. The Sooty Saga: Deciphering Black Build-up

As you use your fire pit, you might notice a layer of black soot accumulating on your fire media. While some soot is normal, especially when using propane, excessive build-up can be a sign of underlying issues. Too much soot usually means the fuel isn’t burning completely, which could be caused by incorrect fuel pressure or air mixture. With the Crossfire Brass Burners, you don’t need to worry about air mixture; it’s already dialed in.
To eliminate soot build-up on your gas fire pit, start by cleaning the fire media. Soak it in a bucket of soapy water for a few hours, then rinse thoroughly, taking care not to scrub and damage the surface. If the soot persists after cleaning, the fuel pressure may need adjustment. If you experience excess soot on your gas logs, considering rearranging the logs to set outside of the flame area.
4. The Valve Vexation: When the Key Gets Stuck
You go to turn on your fire pit, but the key valve refuses to budge. Don’t worry, this is a common issue, especially with new fire pits.
The solution is simple:
- Gentle persuasion: These valves are often “sticky” out of the factory. It arrives to you stuck in the open position. In fact, it looks like it’s defective. Turn the valve clockwise, and then back and forth to loosen it up.
- Visual aid: If you’re unsure how to proceed, check out our video below…
5. The Ignition Enigma: Troubleshooting 24V Systems
If you have a fire pit with a 24V electronic ignition system, or the industry’s newest and most advanced option, The Platinum Electronic Ignition, and it’s failing to light, don’t despair. While these systems are generally reliable, they can occasionally encounter problems. The most common issue is that the fuel pressure is not set properly, or the gas line has not been purged of air. If using propane, pressure should be 11″WC. For natural gas, it should be around 7″ WC. If it’s the first time you’re lighting it up, cycle the system on/off a few times to purge the air. If it still won’t like, your best bet is to call for backup. Contact the manufacturer’s customer support for assistance. They often have expert technicians who can guide you through troubleshooting steps or advise on potential replacements.

6. The Whistling Wonder: Deciphering Burner Noises
A gentle whooshing sound is normal as air mixes with the gas in your fire pit. However, if you hear a distinct whistling sound, it’s time to investigate.
Possible causes:
- High fuel pressure: If the fuel pressure is set too high, it can cause a whistling sound. Consult your owner’s manual for the recommended pressure settings and adjust accordingly.
- Whistling gas line: The gas line itself might be the source of the whistle. If you suspect this, contact a gas professional to replace the line.
- Water in the line: Water in the gas line can also cause whistling. This is more common after rain or in humid climates. Use compressed air to clear the line or allow the water to evaporate naturally.
- Fuel Line is Too Small: In some cases, if the fuel line is too small and you attempt to produce a better flame by increasing fuel pressure, you’re likely to hear whistling. Dial back the gas line valve near the house, or using the regulator. For help, contact your local plumber.
7. The No-Flame Fiasco: Addressing Ignition Failure
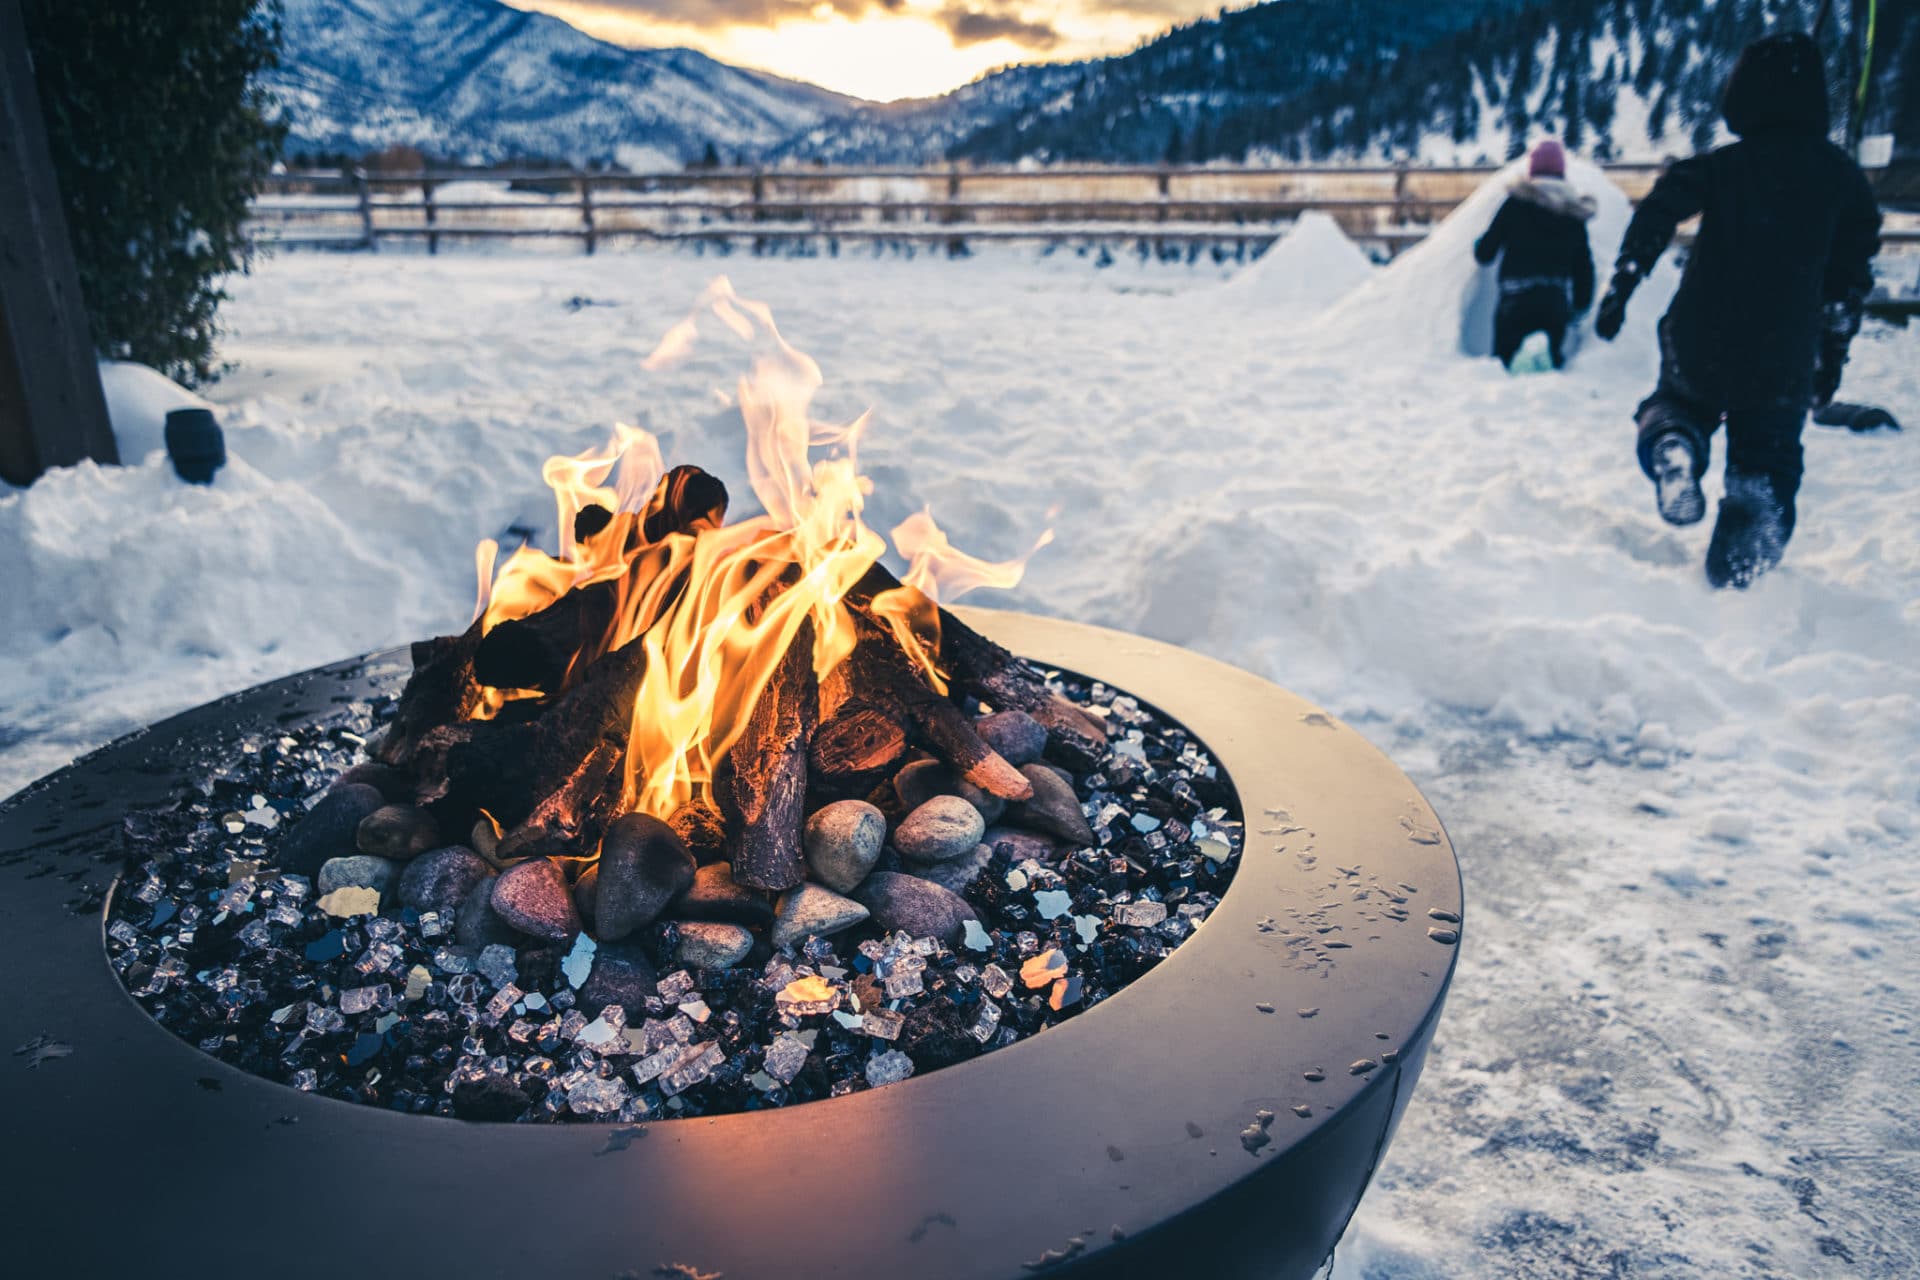
If your fire pit refuses to light despite your best efforts, don’t give up just yet! Water or ice in the gas line, a common issue in colder climates, can obstruct the gas flow and prevent ignition. Try using compressed air to clear any blockages. Also, ensure all gas connections are secure and properly tightened, as a loose connection can hinder the gas from reaching the burner. We recommend covering the burner system when not in use.
8. The Explosive Episode: Preventing Lava Rock Explosions
While rare, lava rocks can sometimes explode when heated. This is usually caused by moisture trapped within the porous rock, which turns to steam and creates pressure.
To prevent this:
- Choose wisely: Use fire-grade lava rock, which is specifically designed for use in fire pits and is less likely to retain moisture.
- Keep it dry: Store your lava rock in a dry place to prevent moisture absorption.
- Change it Up: consider using lava pebbles or ceramic fiber river stones which can handle the heat and moisture.
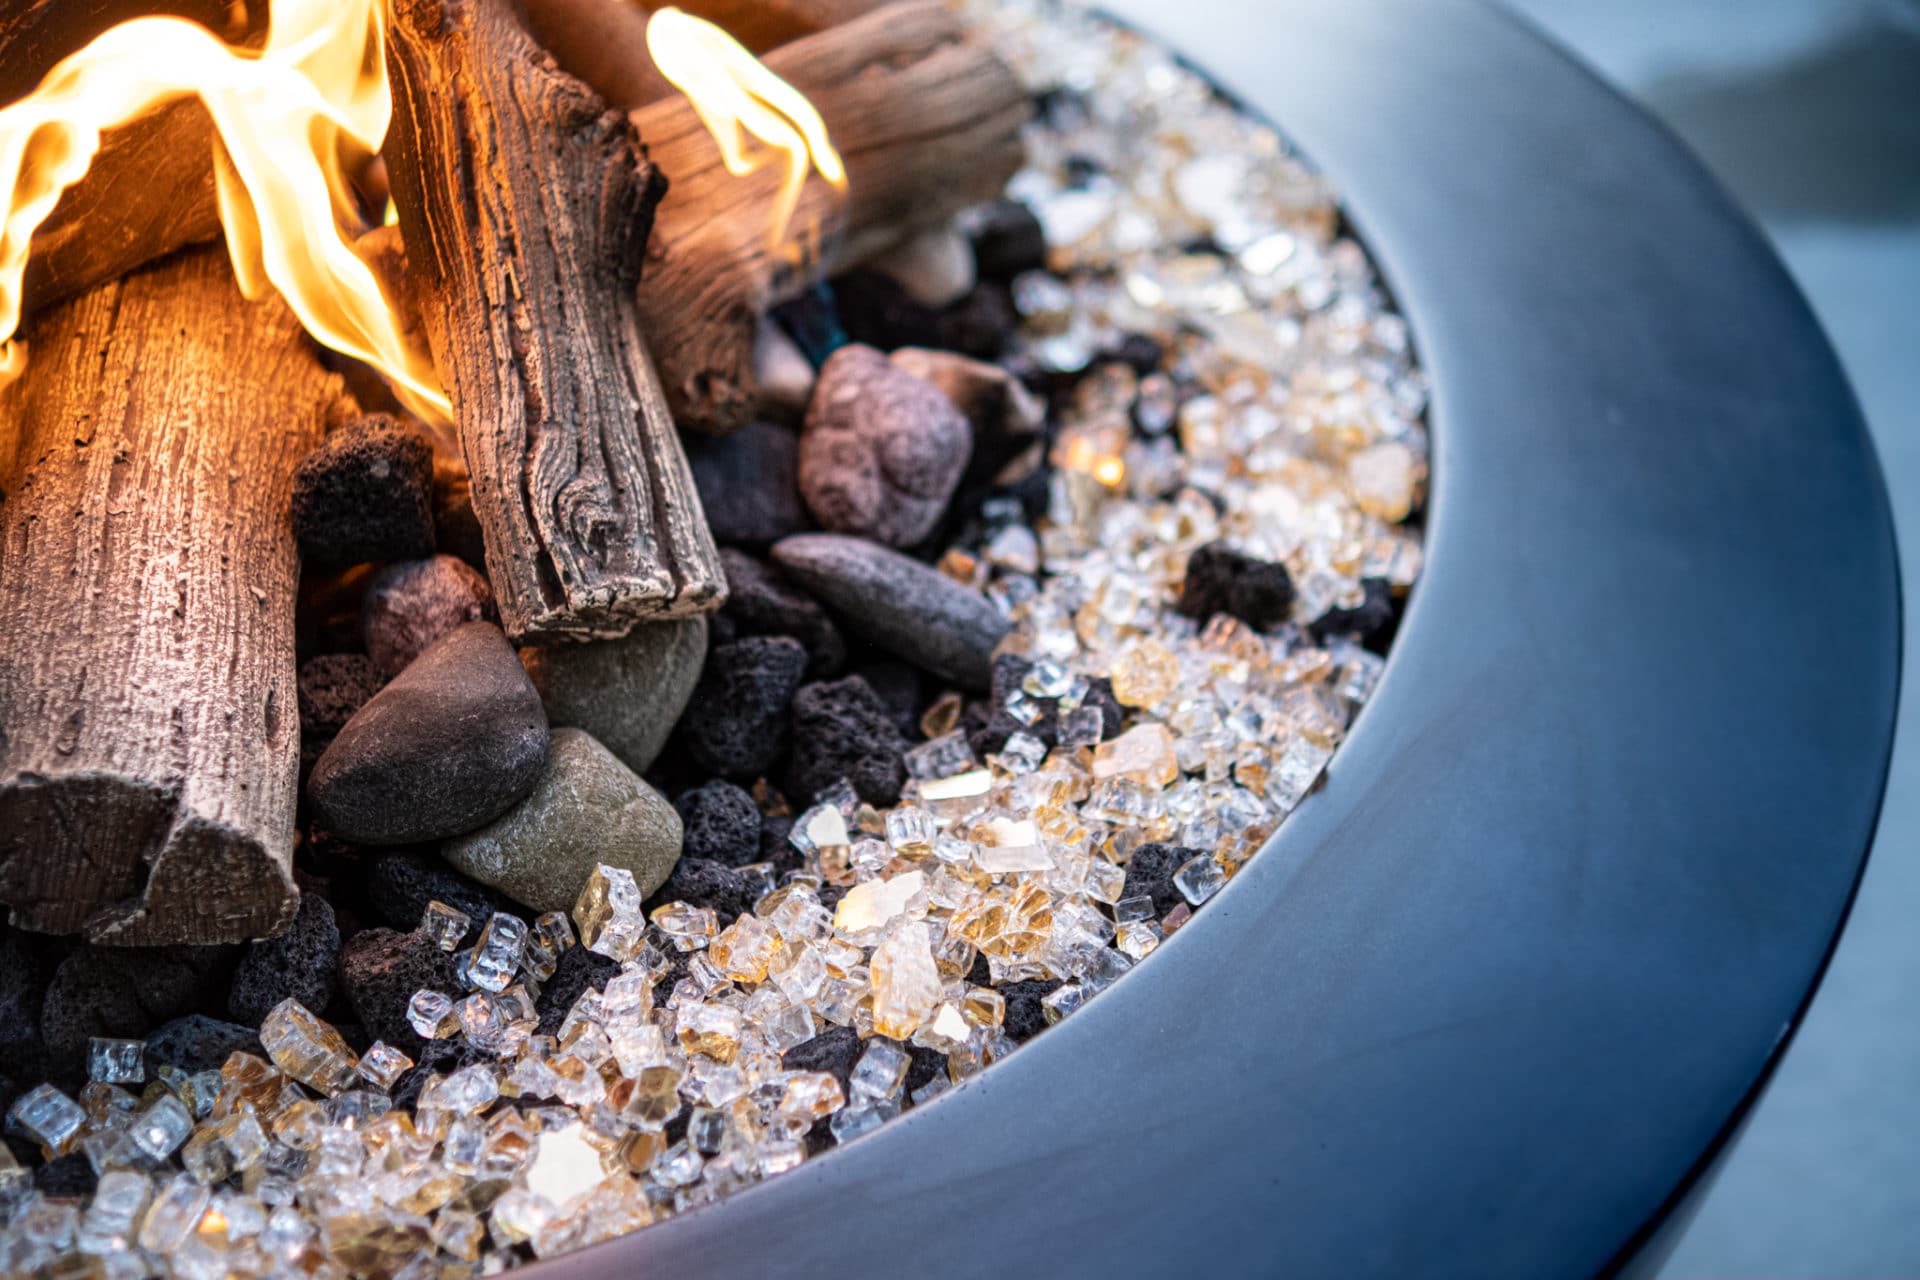
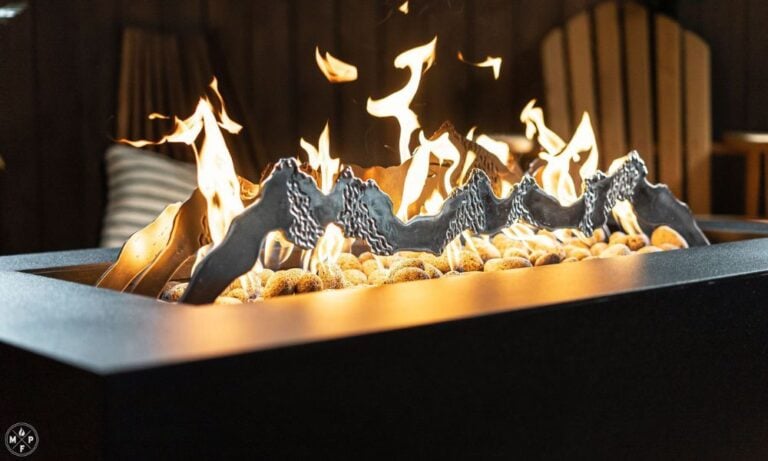
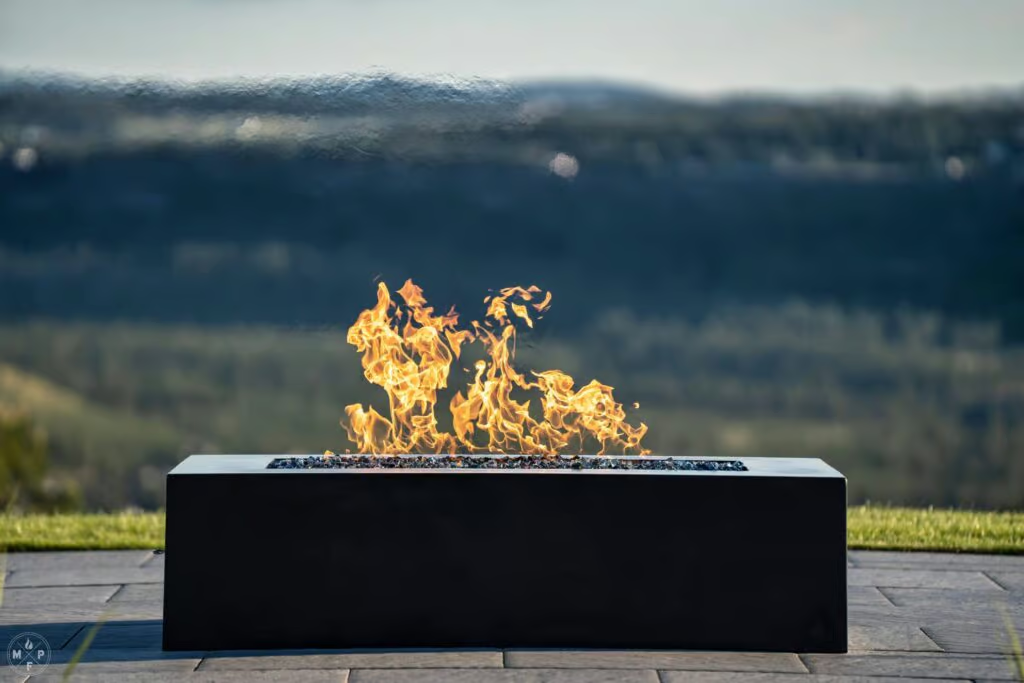
9. The Melting Mishap: Protecting Fire Glass
Fire glass adds a beautiful, modern touch to your fire pit, but it’s important to handle it with care. Placing logs or other heat-retaining accessories directly on top of fire glass can cause it to melt. To keep your fire glass sparkling you want to use strategic placement. Place fire glass around the perimeter of the burner, avoiding the area where you intend to use logs or other heat sources.
Troubleshooting your gas fire pit doesn’t have to be a frustrating experience. With a little understanding and effort, you can keep the flames burning bright and create a welcoming space for friends and family. Remember to prioritize safety by consulting your owner’s manual and contacting a qualified technician when needed. Keep a fire extinguisher handy and familiarize yourself with its operation. With a little knowledge and care, you can enjoy your fire pit for many years to come!


2 thoughts on “Expert Advice: 9 Common Gas Fire Pit Problems & Solutions”
Hi!
I have a propane fire pit that won’t stay lit. The fire may stay on for a few minutes, then it goes out. This may sound goofy, but prior to the fire dying out, I can hear a faint click, as though the gas flow is being closed off. The sound seams to emanate from the on/ off valve assembly.
…thoughts?
Thank you.
Hi Kevin,
If this is a match-lit fire pit, it’s almost certainly the regulator. You might try replacing it.
If you have an electronic or battery powered ignition, read on…
The Prime Suspect: A Faulty Thermocouple
In most propane appliances a thermocouple is a safety feature designed to prevent gas from flowing when there’s no flame. It’s a metal probe that sits in the flame. When heated, it generates a tiny electrical current that holds a small valve (a solenoid) open in the main gas valve assembly. This allows propane to flow to the burner.
When the flame goes out, the thermocouple cools down, the electrical current stops, and the valve inside the gas assembly clicks shut, cutting off the gas supply. This might be the “click” you are hearing.
The problem you’re experiencing—the fire staying lit for a few minutes and then extinguishing—is a classic symptom of a failing or malfunctioning thermocouple. Here’s why it might be happening:
The Thermocouple Isn’t Getting Hot Enough: If the thermocouple probe isn’t fully engulfed in the flame, it won’t generate enough electricity to keep the gas valve open. This can happen if the pilot light orifice is dirty and producing a weak or misdirected flame, or if the thermocouple itself has been bent or shifted out of position.
The Thermocouple is Dirty: Over time, the thermocouple can become coated with soot or other residues. This acts as an insulator, preventing it from getting hot enough.
The Thermocouple is Failing: Like any component, a thermocouple can simply wear out and no longer be able to produce a sufficient electrical charge.
How to Troubleshoot and Fix the Problem
Before you begin, please ensure the propane tank is turned off and the fire pit is completely cool.
Step 1: Check the Thermocouple’s Position
Locate the Thermocouple: You’ll typically find a small, copper or silver-colored rod positioned right next to the pilot light assembly or the main burner. It will have a thin wire or tube leading from its base back to the main gas valve.
Ensure Proper Placement: The tip of the thermocouple should be directly in the path of the flame. If it has been knocked or bent, it may not be getting hot enough. Gently reposition it so that the flame will fully envelop the top 1/2 to 1 inch of the probe.
Step 2: Clean the Thermocouple
Gentle Cleaning: If the thermocouple appears to have any soot or buildup on it, you can gently clean it. Use a soft wire brush, fine-grit sandpaper, or even the rough side of a kitchen sponge to lightly scrub the probe. The goal is to remove any residue without damaging the metal.
Wipe Down: After scrubbing, wipe the thermocouple with a dry cloth to remove any loose particles.
Step 3: Clean the Pilot Light Orifice (If Applicable)
If your fire pit has a pilot light, a clogged orifice can produce a weak flame that doesn’t adequately heat the thermocouple.
Locate the Pilot Assembly: This is where the initial small flame appears.
Clear Debris: Use a can of compressed air to blow out any dust or debris from the pilot opening. For more stubborn clogs, you can gently use a needle or a very thin wire to clear the orifice. Be very careful not to enlarge the hole.
Step 4: Check for Other Obstructions
Burner Ports: While less likely to cause this specific issue, clogged burner ports can lead to an uneven and inefficient flame. Use a soft brush to clean any debris from the main burner.
Ventilation: Ensure that the air intake vents on your fire pit are clear of any obstructions like leaves, dirt, or lava rocks/fire glass. Proper airflow is crucial for a healthy flame.
Step 5: Test the System
After performing these checks and cleanings, reconnect your propane tank, turn on the gas, and try to light the fire pit again. Hold the control knob in the “pilot” or “light” position for at least 30-60 seconds after the flame ignites to give the thermocouple ample time to heat up.
If the fire pit now stays lit, you’ve likely solved the problem!
If the Problem Persists
If you’ve tried all the steps above and the fire pit still won’t stay lit, it’s highly probable that the thermocouple itself has failed and needs to be replaced. This is a relatively common part to replace. You can typically find a universal thermocouple at a local hardware or home improvement store. If you’re not comfortable with this type of repair, it’s always best to contact the manufacturer or a qualified gas appliance technician.
By following these troubleshooting steps, you should be able to diagnose and, in most cases, resolve the issue with your propane fire pit. Enjoy your evenings by the fire!