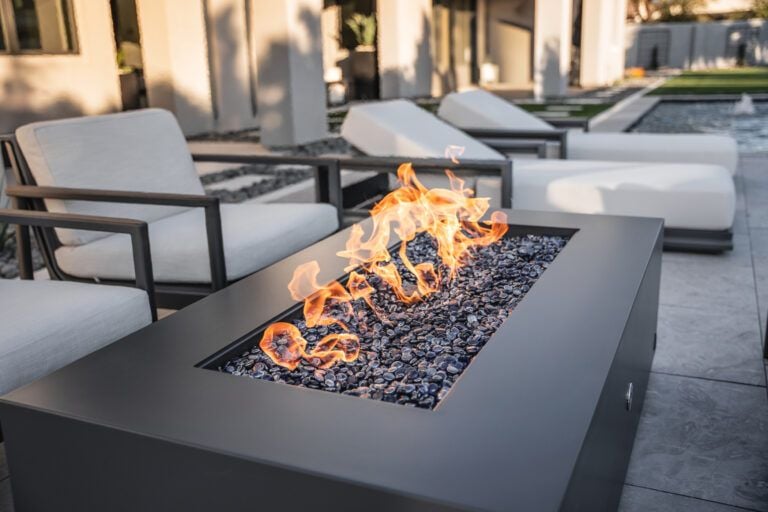
The Most Common Questions for DIY Outdoor Fire Pits
The Most Common Questions for DIY Outdoor Fire Pit Designs and Building
As fire pit experts, we get all kinds of questions about how to do your own DIY outdoor fire pit designs and tips for building. Here are the most common questions.
Question #1: What size flames do you want?
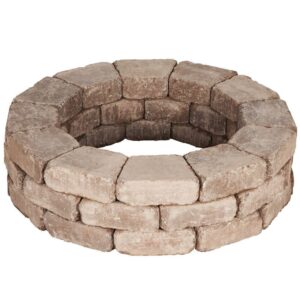
Chris: I’m building a DIY outdoor fire pit in my backyard and it’s built out of pavers. It’s round with an inside dimension of around 37 inches.
Jonathan: Okay, first of all, building a paver fire pit can vary in the end dimensions. A 37 inch fire pit is very common.
Immediately you’re at least going to be looking at the 180,000 up to 280,000 BTU burner. I personally want a big fire. So, 180,000 BTUs is good but 280,000 is twice as good!
Question #2: Pan or Plate?
Chris: While building your DIY outdoor fire pits, I come across references to pans or burner plates. Do I want a pan or do I want a plate? What’s the difference?
Jonathan: 99% of the time you can use a plate. Flat plates are solid aluminum. A size 37 inches is going to be 3/16 of an inch thick. That’s a good thickness.
A fire pit burner pan has 2 inch sidewalls. The reason for that is to contain media such as lava rock, glass, or ceramic logs. If you’re building it out of pavers, you’re going to have a solid inside so therefore you can use a flat plate.
Question #3: Why use flex line?
Chris: Once you’ve worked through the initial components of your DIY fire pit, you need to decide how to run your gas. Why do I want to go with our flex line kit? When you are over 250,000 BTUs, we use a dual flex line kit that is stainless steel and whistle-free. The reason? It’s a dual flex line kit. A 3/4 flex line kit is what you have going to your fuel source and then over to the key valve.
Jonathan: From there you’re going to have two 3/4 inch flex line kits. The reason for that is because your little yellow gas line from Home Depot is not going to cut it. It makes whistling sounds.
The reason there’s two of them is because those flex line kits usually rate up to a certain amount of BTUs – typically between 120k to 150k. So, by having two of them, we disperse the fuel and get as much fuel to the burner as possible.
I hear this sometimes where people say they want to save money on the flex line. We get calls sometimes that another flex line was used and the result is always: “My flame is not that big.”
Our first question is “Did you get the dual flex line kit?”
If the answer is “no”, that’s probably the number one cause of the problem because your fuel is restricted. The flex line kit is part of the whole product. It’s going to give you the best flame.
Question #4: What do we put inside?
Chris: I’ve got the flex line, the plate, the burner. Now it sounds like my pit is kind of coming together, right? What about media? Are there different options or what’s the best option?
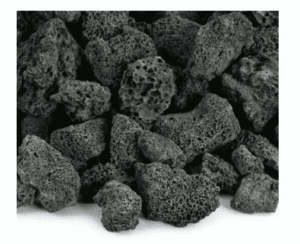
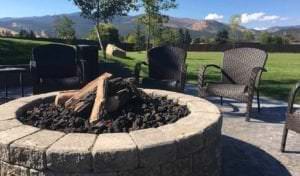
Jonathan: Most people start with a base of good, old black lava rock. We can provide that or you might be able to source it locally. Alternatively, a ceramic log set is very simple. Our log sets are determined by the opening. I’d choose slightly under the actual opening size.
Why would I want to go with your logs? Our logs are realistic. They’re hand made, hand painted. We’ve been working with this manufacturer for many years exclusively on these log sets. They’re the best looking fire logs on the market.

Question #5: How do you mount the plate?
Chris: It sounds like I got all my questions answered. But I didn’t ask a very important question: How do I mount the plate?
Jonathan: I get that all the time. First of all, find out your mounting plate height. There’s a couple of dimensions we need. Let’s assume your fire feature for your DIY outdoor fire pit is going to be about 18 inches finished height from the bottom. Mount your plate five inches below the finished top.
However you finish that, just assume five inches below. How do you mount that plate? Interestingly enough I say whatever is clever for your build. Your landscaper can handle that or you can handle that. You can put cross bracing in it, build in a ledge, or put in tap cons or 90-degree brackets.
The plate is strong enough by itself but it needs something to rest on. You can stack up additional blocks for it to rest. When you purchase a ready-to-finish fire kit, the whole thing comes to you ready to install. You drop the plate in. The burner is already installed on the plate and then you have your plumber finish all the connections with the flex line.
In Conclusion
Hopefully that helped get some of the more common DIY fire pit questions out of the way. Let us know if you need any additional questions answered. We are happy to help!
The MFP Advantage
- Professional Grade Quality
- Nationwide Shipping
- Made in the U.S.A.
- Distinctive, Hand-Built Products
- Vast Size & Finish Options
- Highest Customer Satisfaction
- Custom Design Available
Explore our exceptional line of fire and outdoor products and take your space to new levels of Luxury...
More to explorer
Top 10 Fire Pits of 2025: Warmth and Style for Your Outdoor Space
As the days get longer and the evenings get cooler, what better way to enjoy your outdoor space than with a fire
The Benefits of Multiple Fire Features in Backyard Design
Imagine stepping into your backyard and being greeted by the alluring dance of flames throughout your space! Creating a backyard design with
Discover the Timberline Collection of Wood Burning Fire Pits
In a world that’s constantly buzzing with the convenience of instant gratification, there’s a timeless appeal to the simple, primal pleasure of









2 thoughts on “The Most Common Questions for DIY Outdoor Fire Pits”
I had built a firepit 30” Inside measurement. I purchased the kit from firepitdirect.com, I have 2 circlular fire rings( 24”, 12” ) with 4- 6” inch pipes between both in all. I had it professionally installed. My water column is set at 11 which is maxed according to the install directions. My question is , I get that odor of rotten eggs a lot, is there a way to eliminate that at al or at least a little?!?! Let me know your thoughts, thank you
Hello. That is tough for us to answer, as it is a gas installation issue and with a burner that is not one we sell.
Best to contact your installer.
Comments are closed.